
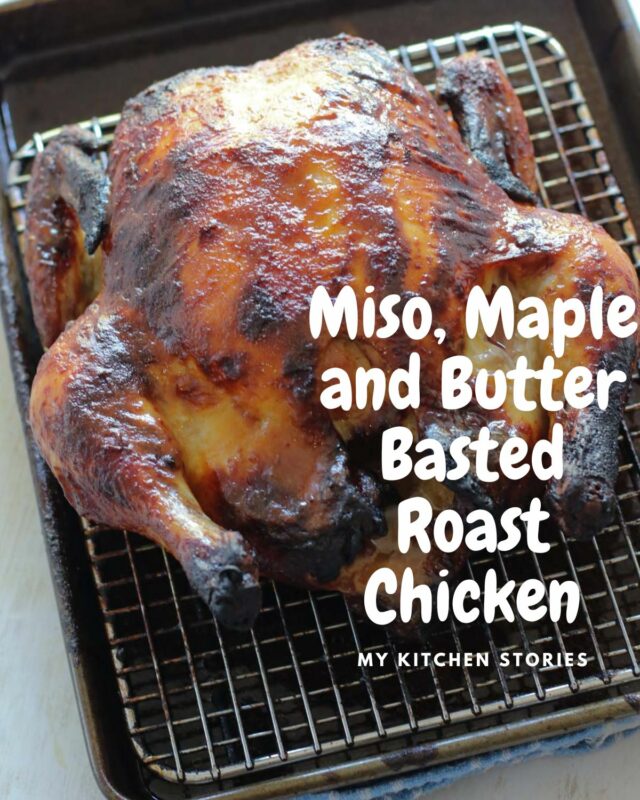
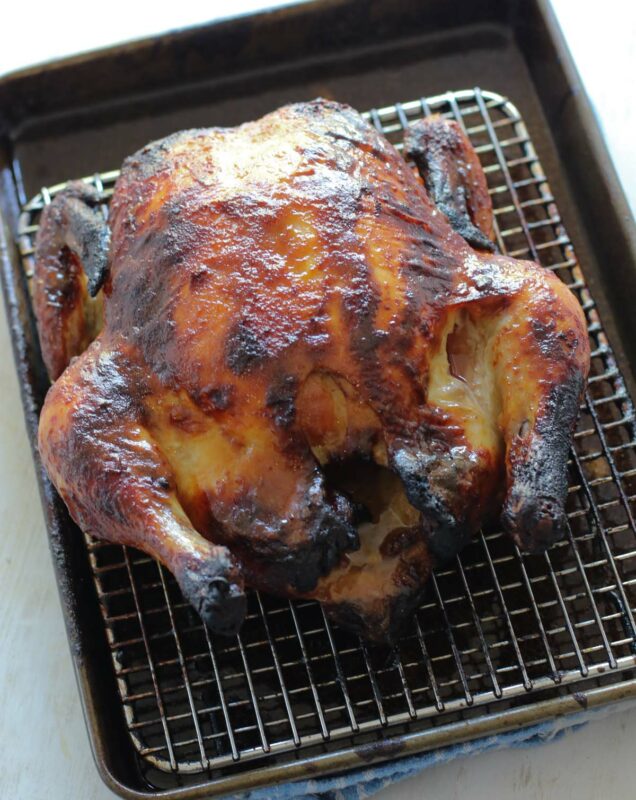
This Miso, Maple, and Butter Roast Chicken is a feast. It is tender and golden burnished to perfection. The secret lies in the dry brining and the continuous basting when baking.
Brining. What is it?
It’s a method of preparing meat for cooking. It involves using salt to draw out moisture and then reabsorb it with the added flavours combined with the salt. Brineing produces flavourful and very juicy meat and helps the skin become brown and crispy. It is closely associated with Turkey and poultry as this can be a bit dry and flavorless when baked. This method of cooking a big fat chicken is a great feast that is worthy of any celebration especially if you want to skip the cost of Turkey or are a bit nervous about cooking one. Don’t do it!
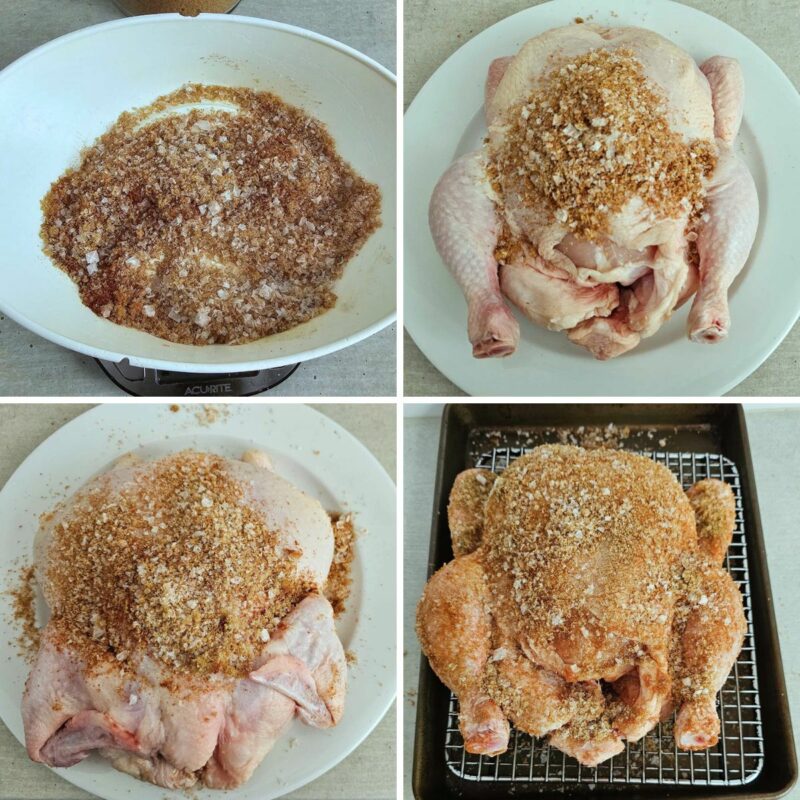
You can see the basic dry brine above. It’s flaked sea salt (not too strong) brown sugar, smoked paprika, and ground oregano.
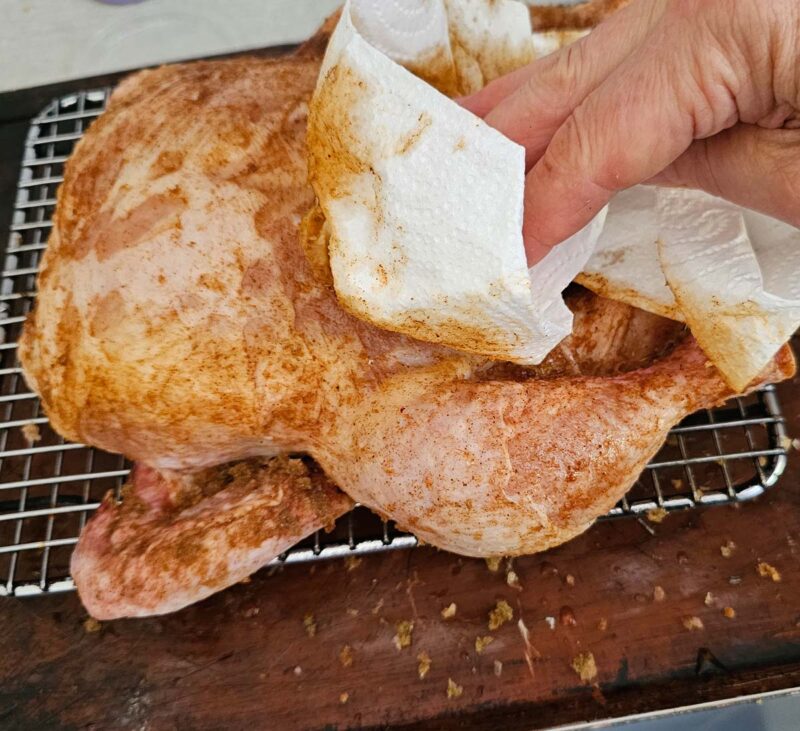
The dry brine is rubbed off with kitchen paper after 24 hours. Leaving a bit of it’s flavour behind and ready to bake to tender perfection
How long to brine and how to prepare for baking
The thing about brining is you need to plan ahead. Not too far, but ahead nonetheless. Give your chicken 24 hours to sit open on a rack in the fridge. The airflow is important for this type of brining. Pop the chicken on a cake rack over a tray with sides. You will also use this tray and rack to bake the chicken later.
The process is absolutely worth the effort. The brining not only seasons the meat but creates a juicy, lovely texture. The meat stays very moist while cooking especially if combined with my Miso, Maple, and Butter basting while it is cooking.
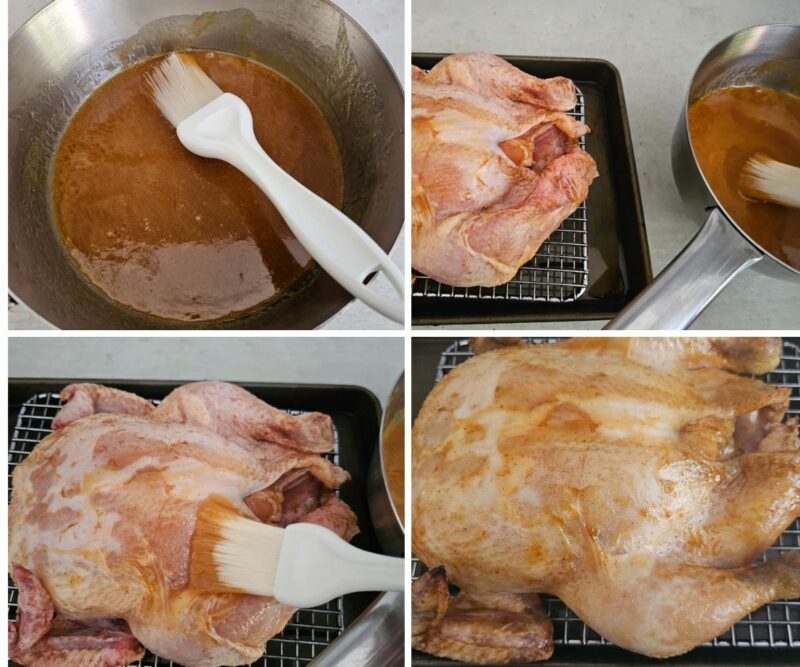
Here you can see the Butter, Miso and Maple basting liquid. It is continually painted onto the chicken between roasting
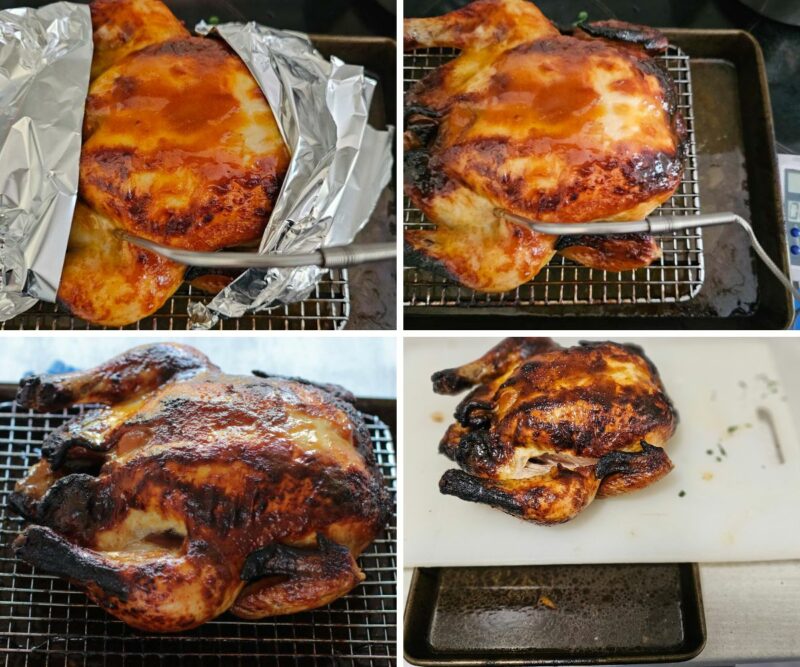
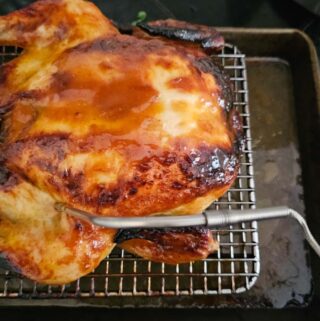
The basting makes a deliciously tanned and tasty chicken. Here I am testing the chicken temperature
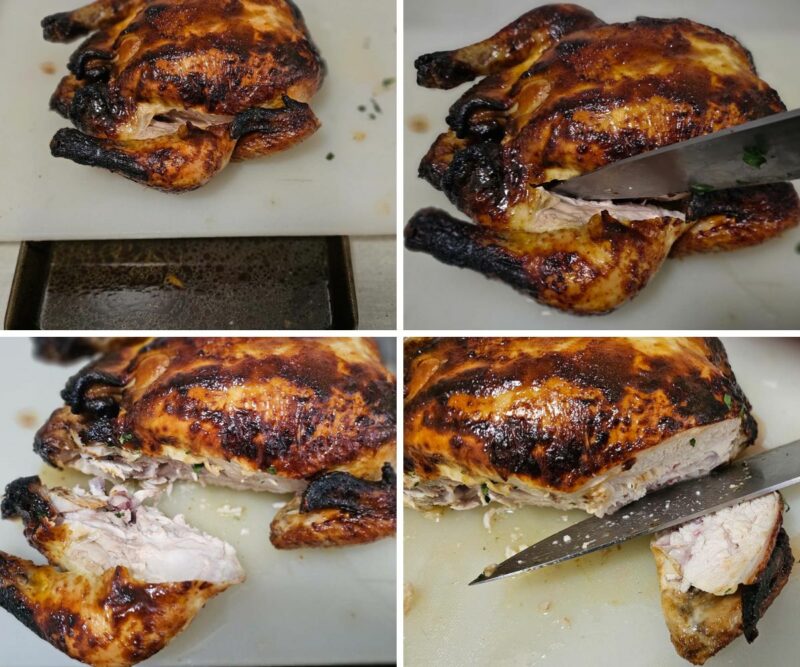
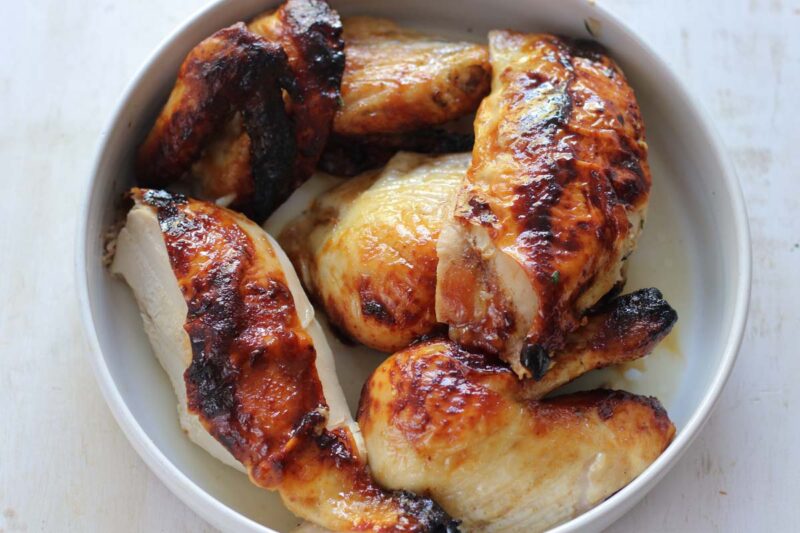
I like to cut up the chicken after resting and before serving. This makes it easy to share and creates lots of sauce | stock for the gravy. All the juices flow out and you can add it to the pot
Cooking this way makes juices for the best gravy
The chicken is cooked on a cake rack over a tray filled with water. This keeps the meat moist and also collects all the juices dripping from the chicken. It’s brilliant. I’ll include a recipe for the gravy too!
I cut my chicken into pieces so I could serve it easily but this is entirely up to you.
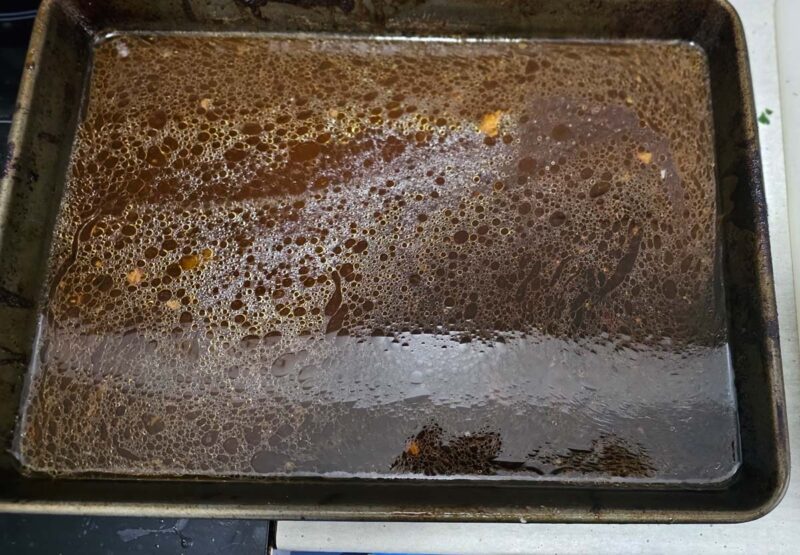
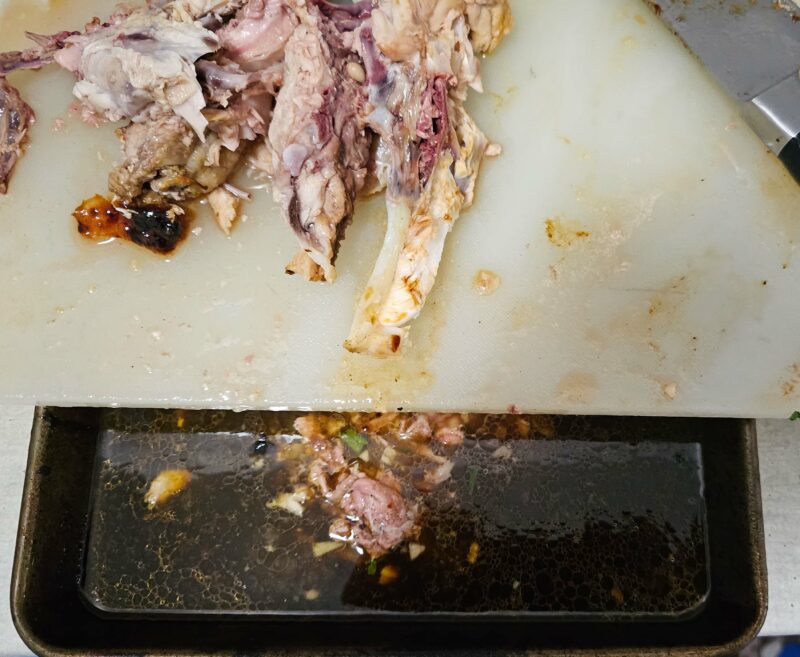
These are the juices left in the tray

When making a gravy the stock liquid is key. I have thickened this one up with flour however you could use gluten free flour or even conflour (at the end) if you wanted a gluten free gravy. I added lots of bones and parsley at the end when simmering to add extra flavour before straining and adding a bit of white miso for extra oomph. If you don’t have enough juices add a little store bought stock.
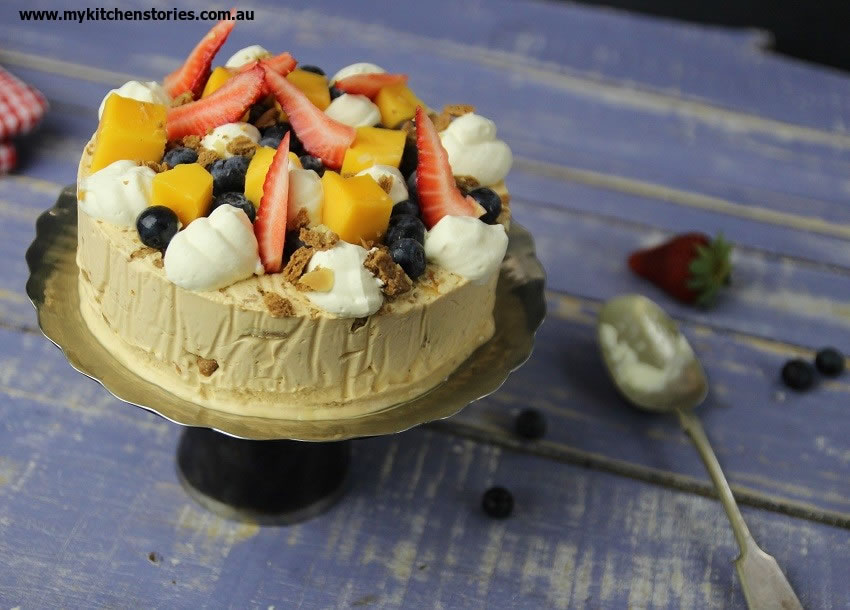
Match this delicious Butter, Miso, Maple basted chicken with a make ahead dessert. It’s simple and delicious.
Dry brined Miso, Maple and Butter basted Chicken
Ingredients
Dry Brine ingredients
- 2 kg whole free range chicken 4 lb
- 40 gm flaked sea salt maldon or Olssons | 1/4 cup
- 40 gm brown sugar 1/4 cup
- 2 gm smoked paprika 1/2 teaspoon
- 2 gm oregano powder 1/2 teaspoon
Maple Miso and Butter Basting Ingredients
- 50 gm butter 2 tablespoons
- 60 ml maple syrup 1/4 cup
- 20 gm white miso 1 tablespoon
- 2 gm smoked paprika 1/2 teaspoon
- 2 gm oregano, ground
Gravy
- 50 gm onion, chopped 3 tablespoons
- 20 gm butter 1 large Tablespoon
- 30 gm flour 2 tablespoons
- 500 gm stock 2 cups
- 20 gm white miso 1 Tablespoon
Instructions
Dry Brining and basting
- You will need a tray with a cake rack that fits inside. Make sure it is deep enough to hold water and catch drips
- Start this part of the recipe 1 day prior to baking
- Wipe the chicken well with kitchen paper draining by holding it upside down over the sink then drying it all over. Sit on the rack. Mix the dry brine ingredients together well and rub all over the chicken, front, back, wings and tail. Pile any excess onto the chicken and spread evenly. Use all of the mixture. Put the chicken into the fridge uncovered.
- After 24 hours in the fridge take the chicken out and wipe off the salt mixture. Don't wash the chicken or add water. Wipe well. Set aside and prepare the oven (200C) and the basting marinade.
- Put the maple, miso and chopped butter with the smoked paprika and oregano into a small pot and stir over low heat to combine and melt. Once melted, set aside for 5 minutes. Use a small paint brush to paint all over the chicken. This will be the first baste of about 5, so set the rest aside. Fill the bottom of the tray with some water. Make sure the tray can be lifted into the oven with the water in it.
- Put the chicken into the oven at 200C and bake for 10 minutes. Take out of the oven again and baste well. Turn the oven down to 180C and bake for a further 10 minutes. Baste the chicken again and bake for a further 10 minutes
- Baste again for a further 60 minutes basting every 20 minutes. (another 3 times) Be aware that after the last baste we will not be able to use the brush on the chicken again, as it has touched the raw chicken. The chicken needs to be roasted well after the last baste. Keep adding some water to the tray especially if it dries up.
- I use a thermometer between the legs to test the temperature and that the juices are clear. ( above 85C) If you don't have a thermometer check the juice colour. If the chicken is still a bit pink, cover with foil (tent so the skin doesn't touch the foil) to protect the bird from getting too dark or burnt and roast for a further 10 minutes, or until done.
Gravy
- You can leave the chicken whole or cut it up. Either way catch all the juices from the chicken both inside and out. I put the chopping board on the tray ( as in the pictures above.) to catch the extra liquid.
- Cut the onion and add it to the pot with the butter. Lightly saute until soft then add flour. Stir until lightly colouring. This will improve the colour of the sauce. Gradually add the stock and all the tray bits. Scrap down the tray. Let the sauce simmer. Add the bones and scraps too. Simmer for a few minutes until thick and bubbling.
- Strain the sauce back into a pot and add the miso. Whisk in and then check the seasoning for salt and pepper.
Leave a Reply