This is a recipe for bread the easy way. No starters. No kneading no failures. Perfect bread every time.
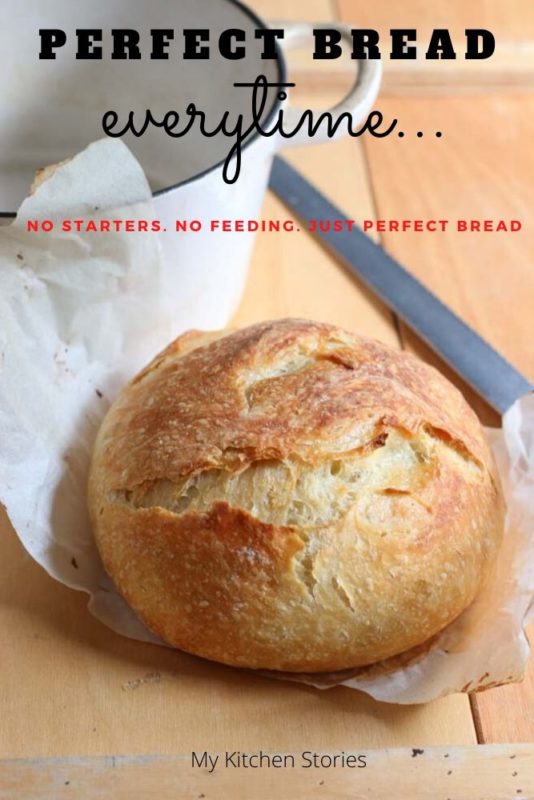
Perfect every time
Have you been an ISO baker? Have you given up on feeding starters and wondered why everyone on Instagram seems to have the perfect sourdough?
Then this is the bread for you.
You are not going to worry anymore about that heavy disappointing flat hard bread you waited 12 or 24 hours for, OK? Put it behind you. People spend a lifetime perfecting sourdough. We don’t have that time.
This bread has been popular on the internet for years so it’s not new but maybe you haven’t had the chance to try it before. Now is your chance.
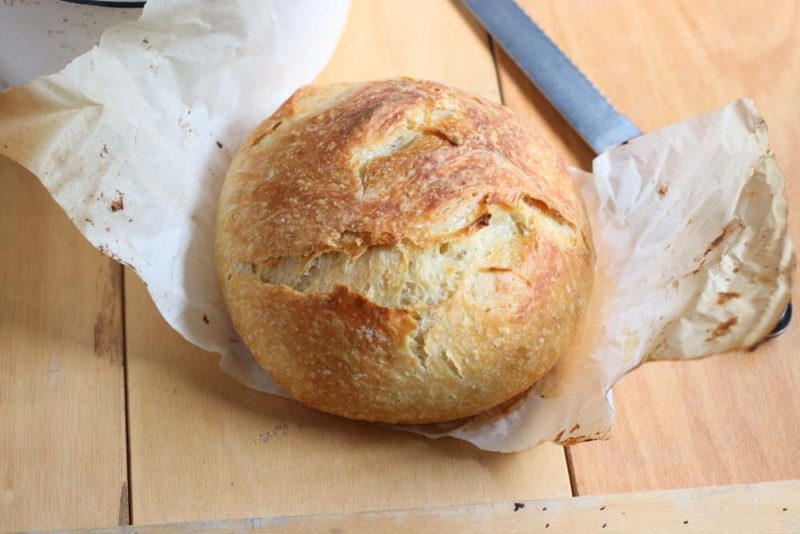
This highly achievable AND simple recipe will amaze you. The hardest thing you will have to do is plan ahead.
This type of bread is more often known as no knead bread. I’ve given you a few similar recipes, like this. Try this Brioche bread. ( its also easy ). Or this No Knead Sweet Potato bread. They are perfect and will work to encourage you on your bread journey. This style of bread works by using a long fermentation. The moisture in the very wet dough helps build gluten without all of the work of kneading!
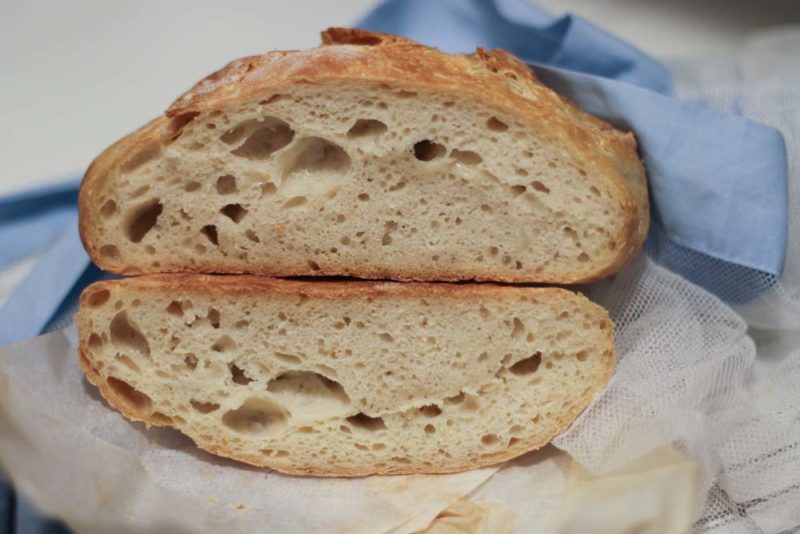
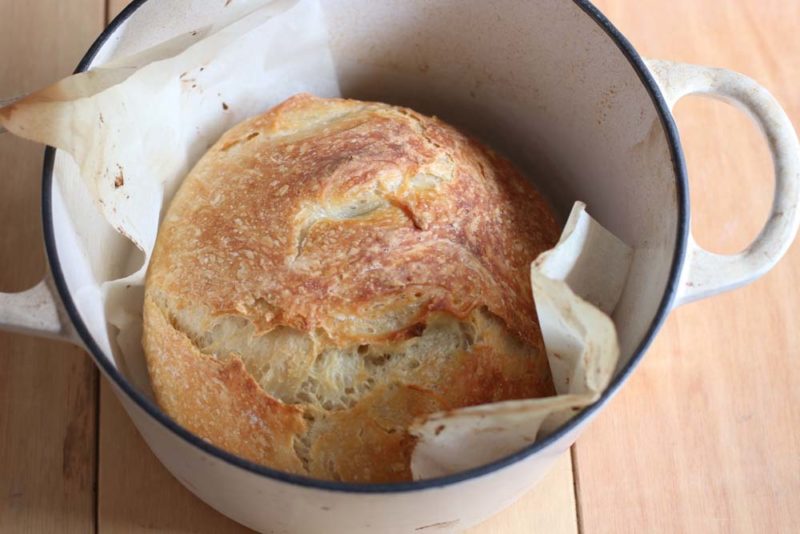
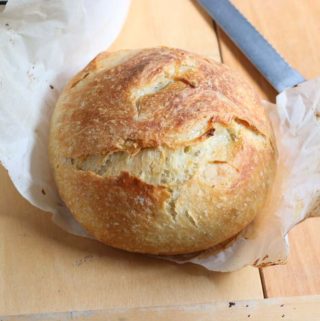
So here it is. The bread will have a thin crisp crust that shatters under your knife with a sourdough like interior.
What you will need to make bread
- You’ll need 4 basic ingredients. Four, salt, yeast, and water
- You will need to plan a day ahead (more about that later)
- Make the basic recipe before getting fancy
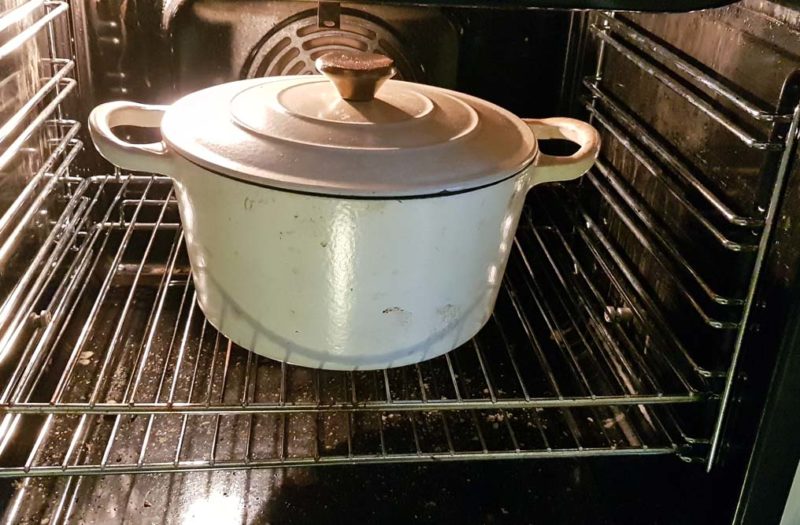
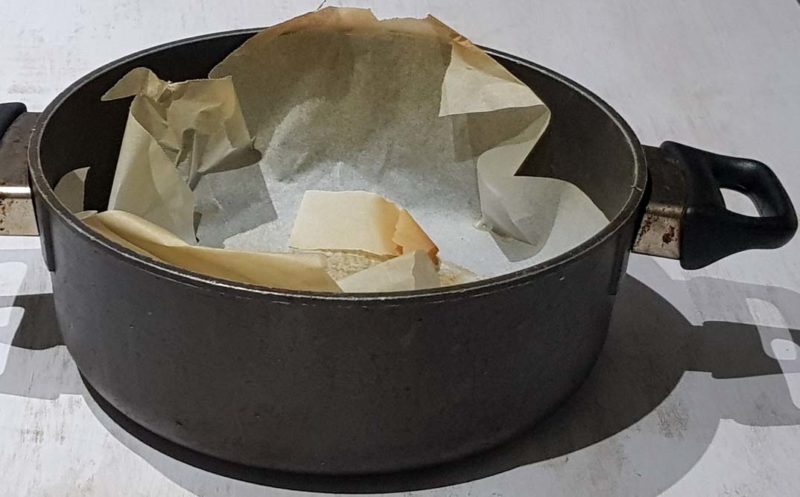
- You will need a Dutch Oven (like a le Creuset, le chasseur or Crofton). This creates the intense heat and moist atmosphere you need for this bread. This recipe was tested in an ovenproof pot with a lid. The results were positive but not as good as the Dutch oven.
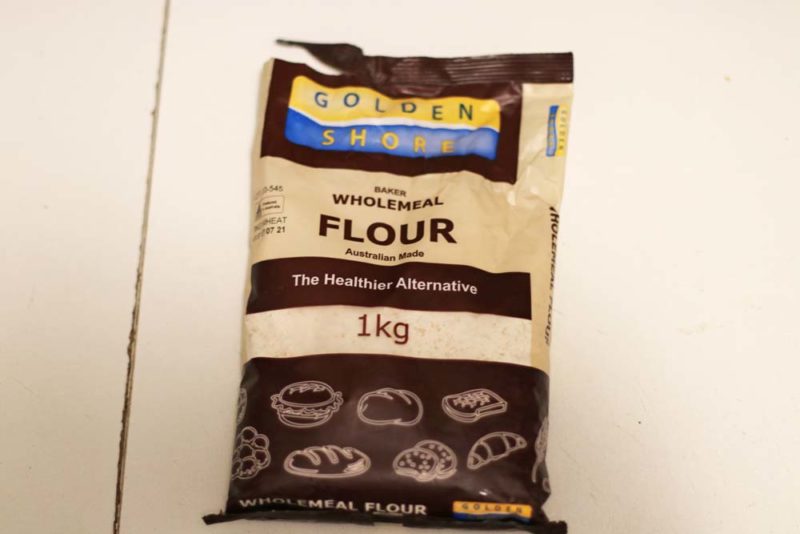
- Use baker’s flour. All-purpose flour is too soft. You can purchase specific flour from a market, supermarket, or bakery. It should say bread, pizza or baker’s flour.
How to make this bread and more
- Don’t knead the dough, just mix together. Once water hits flour the gluten starts to form. Strong gluten makes great bread.
- As the dough sits, the water gets into every flour grain. The official name for this is “autolyze”. You may have come across that term when making sourdough. What it means is that when you go back to your dough it will be very soft and sticky
- This bread does not require any mixing, kneading or knocking back. In fact the lazier you are the better your bread will be!
- If you don’t have scales, don’t worry. Use cup and spoon measurements
- Now the planning bit. Start this bread the day before you need it. If you want it today make another softer yeasted bread. This one needs 24 hours to perfect. If you want it for breakfast on Sunday morning, mix it up before heading out on Saturday. Eg. make it at 8 am before going shopping (it will take 10 minutes at most) On Sunday morning at 8 am, you will cook it for breakfast. Follow the step by step instructions!
- I bought my Dutch Oven for $24.95 at Aldi
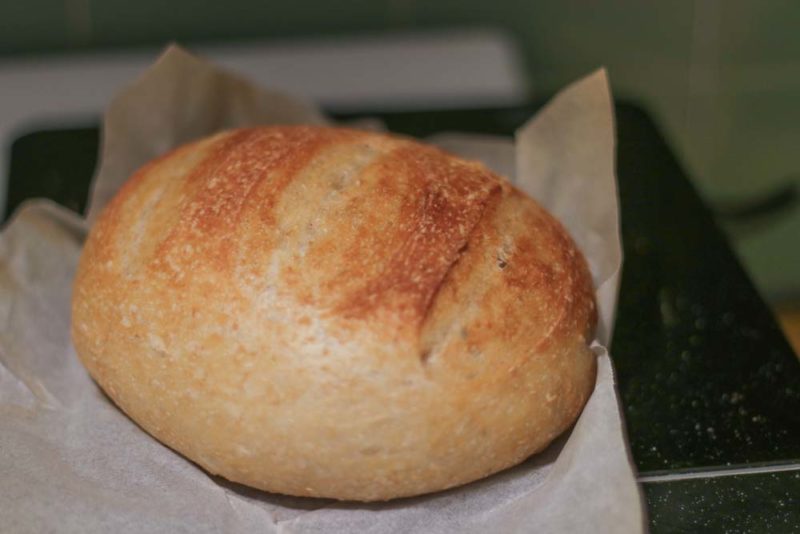
- After you have made a loaf or two you can experiment. Wholewheat is a perfect choice. Or add olives herbs, dried tomatoes or seeds. I will include this in the notes below
Watch this video for helpful hints
Bread the easy way. No starter. No Kneading
Ingredients
- 450 gm Flour, bakers plain, bread or pizza flour, 3 cups +tblsp
- 5 gm yeast, active dried 1 1/2 teaspoons
- 7 gm teaspoon salt (not flaked) 1 1/2 teaspoons
- 350 ml water, warm a bit less than 1 1/2 cups
- 1 Tablespoon olive oil ****optional
Instructions
- You will need a medium sized bowl. it can be stainless steel, glass or ceramic. Just as long as it is big enough to give the bread space to grow.I make the dough at the time I need it the next day. If you want it for breakfast or lunch make the base dough in the morning. If it is for dinner time then make it in the afternoon etc.You will also need baking paper and a Dutch Oven
- Put the flour, salt and yeast into the bowl and whisk together (or stir well)
- If you are using olive oil add it to the water then…..Add all the water at once and begin to stir with your hand (just one, the other one is holding the bowl). Mix from the outside collecting all the dry flour. You don't need to mix a lot it just needs to come together. There may still be bits and pieces around the bowl and it will not look smooth and mixed.
- Get rid of the excess from your fingers. Cover in plastic wrap well and put in a place where it will be undisturbed till tomorrow.
- Your dough will be a bubbly honeycomb mixture. Put some flour on the bench. Run your fingers around the top of the dough loosening the edges and then lift and fold the dough over itself a couple of times, then scrape the remainder out onto the floured bench, it will be very sticky. You DO NOT have to Knead it. Push it into a ball. Do this by using both hands to push the dough from the base inwards going around the base forming a circle. The dough will start to stretch and gather, pushing the dough towards yourself from the base works best. DONE (2-3 minutes)
- Lightly oil or spray a piece of baking paper 30 x 30 cm (12×12 in 0r just a round for the base of the baker). Put the dough ball onto the paper Lift the paper and put it into the Dutch oven. Cut the top of the dough with scissors. Cut very deep indets in around 3-4 places. This will allow the bread to expand. Put the lid on and set aside.
- Turn the oven and heat to 220C or 430 F. Leave for 10 minutes to heat and then put the baker into the oven. After about 20 minutes you will start to smell the bread baking. It will rise in this time so do not lift the lid before the first 30-35 minutes. Do not check until this time. Lift the lid swiftly. The bread should be well risen and some ears starting to form. If the bread is just shiny and not starting to rise and become rough put the lid back on for another 10 minutes before removing ***Caution when baking in a Dutch Oven. These are hot and heavy.
- The baking time will vary with different ovens. As a general rule after the first 30-40 minutes, you can take the lid off and let your bread brown. Final cooking time should be approximately another 15 minutes.Once you remove the lid If your oven is extra hot (that is your bread is browning very quickly) you can turn it down to around 190C / 375F and let the bread finish browning for another 15 minutes.
Notes

Hi Tania
Since this is not sourdough, does it not have the health benefits usually attributed to sourdough? Presumably those derive from the fermentation process so it would seem this is as “good” as sourdough aside from the taste but without the hassle. Almost more akin to the biga in ciabatta?
Thanks
Hi Bob
Yes. I think this is true. A longer fermentation will definitely make the bread easier to digest. That is part of the positives of sourdough- the conversion of gluten, also the better flour you use, the more difference it makes
All the best
Tania
Can I use self raising or all purpose flour for this recipe? Will it affect the texture?
Hi
Please read through the instructions. self raising flour really has no place in yeast bakery. You don”t need the extra leavening as you have the yeast
You cannot use self raising flour.
It is better to use bread flour rather than all purpose. This flour is not strong enough
You will find all the answers in the instructions
Tania
I was thrilled to come across this recipe. I’m looking for a recipe that is a bit more tart than regular bread, but not sourdough, and this looks like it might be it 🙂 I followed the recipe exactly—I bought “Best for Bread” flour, fresh yeast, used warm water and olive oil. I put the bowl into the oven (cold) for the 23.5 hours, and used parchment paper in my cast-iron Dutch oven. The yeasty-fermenty smell was wonderful, and the dough rose beautifully. I cooked it for 30 minutes before removing the lid and then another 20 minutes. But the bread came out heavy and dense, not at all light or high. The reviews are overwhelmingly positive, so I’m pretty sure it was something I did. The only thing I can think is a longer cook time. Can you offer any other suggestions?
Hi Irene
Well you did follow the recipe by the sounds of it. The only thing I can see that I might query is the yeast. Is it “fresh’ yest or dried yeast
The use of dried and fresh yeast differs slightly. For this dried yeast is probably better as it doesnt effect the moisture level. You will also need double the amount of fresh yeast to dry to make it work with success. Due to the amount of water still in the yeast when fresh, when using you would approximately double the suggested amount of dried in the recipe ( just to be clear) You will get a far more yeasty tasting and smelling bread with fresh yeast. I havent tried it because it doesn’t keep for a long time I don’t usually buy) The longer 24 hour ferment time for dry yeast is probably good too
If you did not actually mean fresh yeast but rather dried “fresh” yeast. I would suggest you try again. Leave the dough just a little longer to re rise after you shape it, then bake after that. Let me know how you go!!! Tania
Just made this loaf and it baked well, however, it smells like beer?
Hi Connie
That is great. That means it fermented very weel. This is the smell of yeast and cobon dioxide a good smell for bread as it means the yeast is working well to make your bread rise.
I wanted to experiment so I make-shifted a Dutch oven with a cake pan and foil, totally expecting failure, but it actually came out pretty good! I’m totally investing in a Dutch oven next.
Thats fantastic. Well done!!
How may I make adjustments to this wonderful recipe ? I would love to make a jalapeño cheddar loaf for example . Thank you
Elizabeth
Hi Elizabeth
You can add flavours to this bread. Get them cut and grated and prepared. Make sure any ingredients that are wet are well drained.
Add these ingredients once the proving has completed and you are going to fold in the additive BUT very gently. Just fold.
Comment:
How may I make adjustments to this wonderful recipe ? I would love to make a jalapeño cheddar loaf for example . Thank you Elizabeth
All the best
Tania
Hello,
What temperature should the water be?
Hi Mikayla
The water should be warm.
No temperature specifically required just a nice tepid room temperature water to help the yeast along
Hot water will kill the yeast. Make sure that when you put your finger in the water it is the same temperature as your skin. You should not feel warmth or coldness.
If you are looking for a specific temperature it would be around 36- 37 C
Hope this helps
Let me know how you go
Tania
Hello,
I made my first ever bread using your recipe. I did a boule and a loaf for Christmas. I had a loaf of store bought bread in reserve if mine didn’t turn out.
It did!
My question is, can I use Platinum Sourdough “flavor” yeast in lieu of normal dry.active yeast called out in your recipe?
Hi Lee
First, I am so happy you made bread and it worked well for you. How wonderful is that feeling!! I really applaud your experimentation and question.
As we havent got this here in Australia I was very interested to read about it. I would imagine this is how supermarket sourdough is made here and it would be available commercially. For all those that have not heard of this here is an explanation:
What is the difference between platinum yeast and regular yeast?
“Platinum Yeast is an instant yeast blended with natural dough improvers. These dough improvers are naturally occurring enzymes derived from protein in wheat flour. They strengthen the dough and build tolerance to variations in flour strength and the baking process (kneading, rising, etc.)”
Therefore Lee if you use the Platinum yeast ( with improver and flavour) and not the one with sourdough starter in it, I am sure it would be a really great idea!
Tania
How do I store my finished bread?
Hi Nicole
This is just bread and can be stored wherever you usually store your bread
All fresh breads are best eaten the day they are baked as they have none of the preservatives and other emulsifiers and additives that are usually found in commercial bread.
Hope you have had a great new year
Tania
Can you let the dough proof for longer than 24 hours? Will that make it even lighter?
I don’t think so. The dough could start to deflate after a certain amount of time. Once the yeast is activated and eats its way through all the food (flour) it will be less active and start to deflate.
Where does the sour dough come from or fermentation? Is it still considered to have all the health benefits?
Hi Jennifer this is not sour dough it is just slow fermented bread dough. No knead actually. Sour dough uses a starter that has no yeast in it. A slow fermented bread is definately better than other doughs though as the protein (gluten) has had longer to ferment or prove which helps it become more digestable
Hello,
I’ve wasted time and money trying to make sourdough bread with numerable fails. I tried this recipe today and it looks pretty good. Was just wondering, it seems a bit flavorless, any suggestions? I used high gluten flour and olive oil. Thanks
Hi Deb
yes it is just a nice plain bread recipe.( but much better than shop bought) I usually make it and then flavour it later so I dont disturb the proving process. Once baked cut slits or slices in it, without cutting all the way through, and spread it with garlic butter or olive butter or spread with pesto and some extra parmesan then pop into a 180C oven to recrisp and melt that butter a bit. You can also wrap it in foil and bake for a more traditional style garlic bread ‘
Tania
Hello , my sourdough is flat and isnt rising , it tastes okay but what I am I missing
Followed instructions exactly
Thanks
Hi Grant
Very hard to know what has gone wrong without any details.
This is not sourdough bread though so I hope you have added yeast. Is your yeast active. You can test it in some warm water with a bit of sugar added.
Are you using bread flour?
Let me know
Tania
Yes I missed the folding over into a ball before baker , yes bread flour , active yeast brand – they still came out okay
Is a great recipe – Thanks
Grant
My bread turned out really weird. I used all purpose flour, I let it sit at room temperature for 22 hours. It was still kinda runny when I put it in and it cracked and didn’t rise. I have a porcelain Dutch oven. Can you help me?
Hi Gina
To make no knead bread you need to have strong flour. That is flour that is suitable for bread such as Bobs Mill artisan bread flour. This has a higher protein or gluten content. This makes the bread strong and instead of being just spongey and still runny. Bread flour will be stronger.
Are you measuring with weights or cups?
This will also make a difference
Your glass/ pyrex dish should be fine, you just need a more suitable flour.
If you are measuring by cup add just a bit less water.
Have another go. You will get it. Best thing about bread is it is pretty cheap to experiment with
Email me again if you have more issues
Tania
I failed the first 2 times and finally succeeded the 3rd time. I’ve made this almost everyday for the past week now because it’s so tasty. Since I finish the bread by myself so quickly, I had to experiment to see if I could get away with shorter rising time (it was painful having to wait a whole day before I could eat it). I’ve been able to make it after about 3-4 hours so far.
Thanks for the recipe, I’ve never baked bread before and never thought I’d be able to. I’m very grateful for your detailed instructions and tips!!!
Is there a way to make this sourdough bread as mini loaves with ham or chicken inside while baking? I’m thinking of these as the size of a sandwich for each person.
Dear Shirley
Thanks for your comment. The bread you are making is not sourdough it is just no knead yeast bread.
Yes you could possibly make smaller rolls with this. The idea though is that you don’t really overhandle the dough after it sits for the required amount of time. So, perhaps stuffing it may knock it back too much. Perhaps try the small rolls first before filling them.
About 20 hours have gone and I am going to start the next steps. Two things…
Is it beneficial in any way to save some of the risen dough as starter for my next batch, and if so, how should I store it?
Also, I don’t have a dutch oven. I’ll check Aldi’s today, but I don’t remember seeing one there…but then again I wasn’t looking for one!
If not can I cook it on a pizza stone.
I seem to remember that I did this years a go, and I put a cookie sheet filled with water below it when I preheated the oven, and that added steam…or is that just a wishful memory?
Hi Earl
I am sure by now you may have baked your bread as it is or was the middle of the night here.
There is no need to keep any bread from this dough as that method is not really used with this yeast based dough. With this you just make a new dough each time
As you probably have seen by now the bread is very soft and needs the structure of a “dutch oven” to hold it firm until the steam sets it and then the oven bakes it
Like Aldi here in Australia, your probably only has Dutch ovens one or two times a year, usually when winter is approaching
You can use any sealed vessel. This creates steam and great heat and gives the bread the rounded steamy boost it needs. Most home ovens aren’t hot enough
Let me know how things went
Regards
Tania
My. bread tasted great but it was too dense. Is there anything an can do to prevent this?
Hi Esther
Thanks for your email/ comment
It is hard to work out why from just a few words.
However here are some things to consider.
What kind of flour did you use. Was it Bread or Bakers flour. The no knead bread types really depend on flour being very high in protein or gluten to work. This is what builds the structure and makes the bread strong. As soon as the water is added the strands start to bond and grown from just a small amount of folding
Is the temperature quite cold, therefore preventing the yeast from proving and stretch and making a lovely strong puffy base
Did you quite heavily knock the dough back and there fore it hasnt had a long enough chance to re puff up- giving it more lightness
Best regards
Tania
Loved the recipe. So easy. Thank you, my bread was so good and we finished an entire loaf in one morning! The kids loved it also!
Hi Jaya
I am so glad you loved it. Thankyou
Can this be made in a bread oven?
Hi Pam
It is not designed for the bread maker as it is such a high hydration recipe.
I think you may find it too sticky
Best Regards Tania
Hi, I am about to make this recipe and I just made the dough and am going to leave it for the 24 hours. I don’t see in the recipe where it says where to leave it for the 24 hours. Does it need to be left in the fridge or at room temp on the counter?
Bench, outside the fridge
My dough has risen a lot within a few hours. Is it crucial to wait 24 hours before baking?
Sorry shay, I didn’t see this till a long time after you probably made it. It must be quite warm where you are. You can bake it before 24 hours if you feel it is ready
My oven has a proofing setting. Can I try that? Do you think it will require 24 hours then? How do I know it has risen enough to bake?
Hi there Tina
One of the reasons it takes 24 hours is that it very slowly ferments forming nice stretchy gluten strands over a period of time. This is why it is no knead bread. If you want a more rapid rise you can always knead or fold a few times to give it additional strength enabling it to rise faster. You will know when to bake it because it will be bubbly and bigger in size.
All the best
Tania