This is a recipe for bread the easy way. No starters. No kneading no failures. Perfect bread every time.
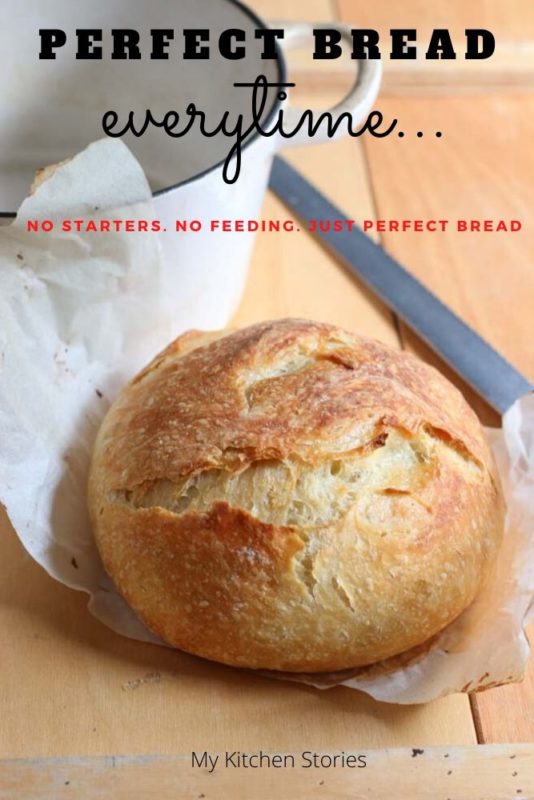
Perfect every time
Have you been an ISO baker? Have you given up on feeding starters and wondered why everyone on Instagram seems to have the perfect sourdough?
Then this is the bread for you.
You are not going to worry anymore about that heavy disappointing flat hard bread you waited 12 or 24 hours for, OK? Put it behind you. People spend a lifetime perfecting sourdough. We don’t have that time.
This bread has been popular on the internet for years so it’s not new but maybe you haven’t had the chance to try it before. Now is your chance.
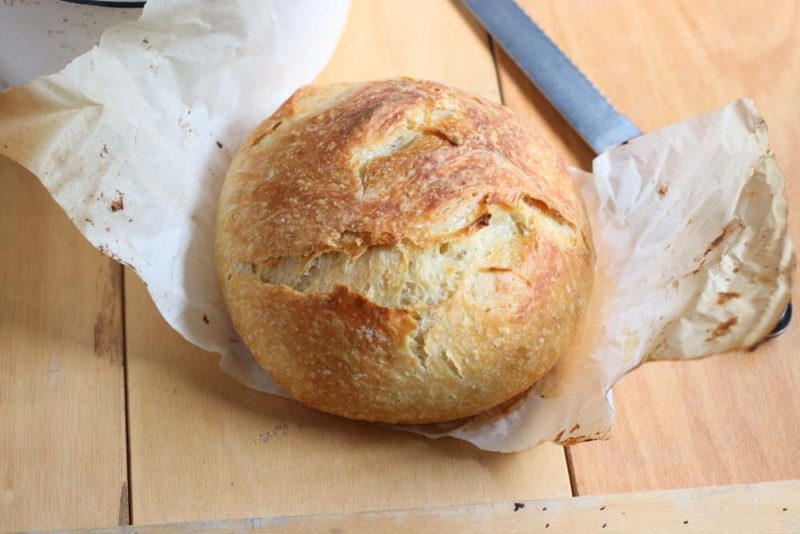
This highly achievable AND simple recipe will amaze you. The hardest thing you will have to do is plan ahead.
This type of bread is more often known as no knead bread. I’ve given you a few similar recipes, like this. Try this Brioche bread. ( its also easy ). Or this No Knead Sweet Potato bread. They are perfect and will work to encourage you on your bread journey. This style of bread works by using a long fermentation. The moisture in the very wet dough helps build gluten without all of the work of kneading!
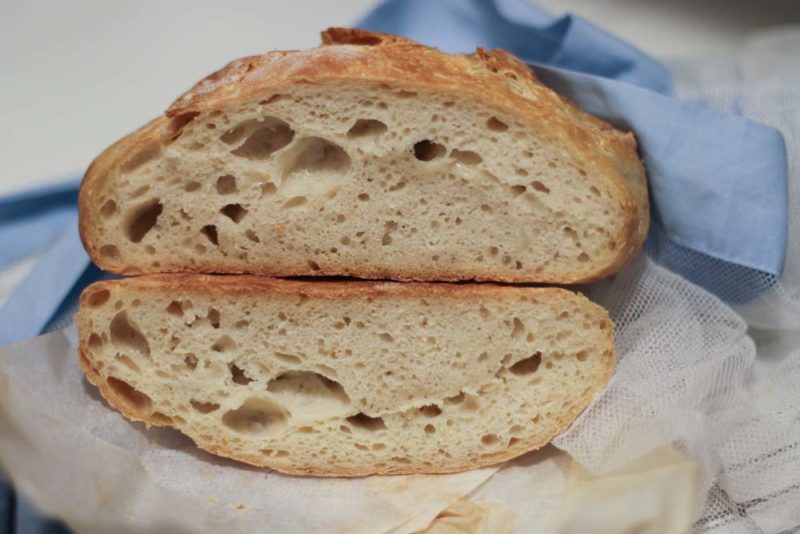
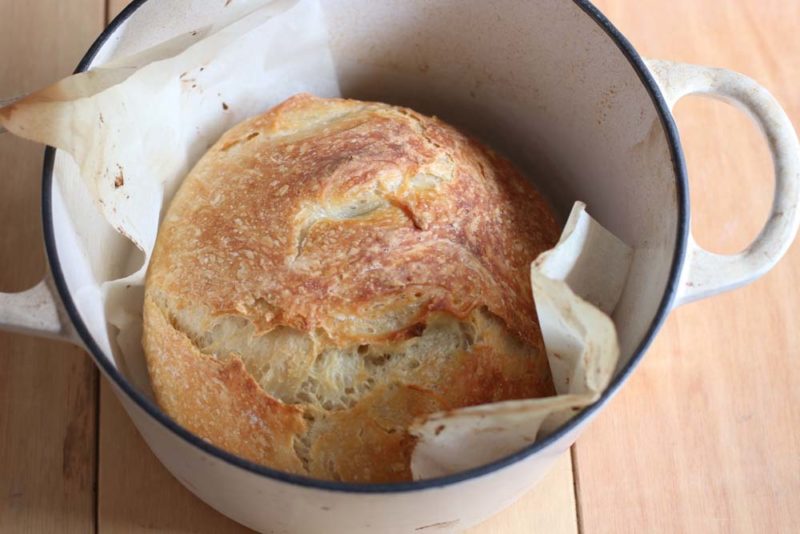
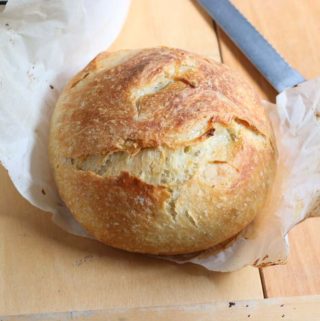
So here it is. The bread will have a thin crisp crust that shatters under your knife with a sourdough like interior.
What you will need to make bread
- You’ll need 4 basic ingredients. Four, salt, yeast, and water
- You will need to plan a day ahead (more about that later)
- Make the basic recipe before getting fancy
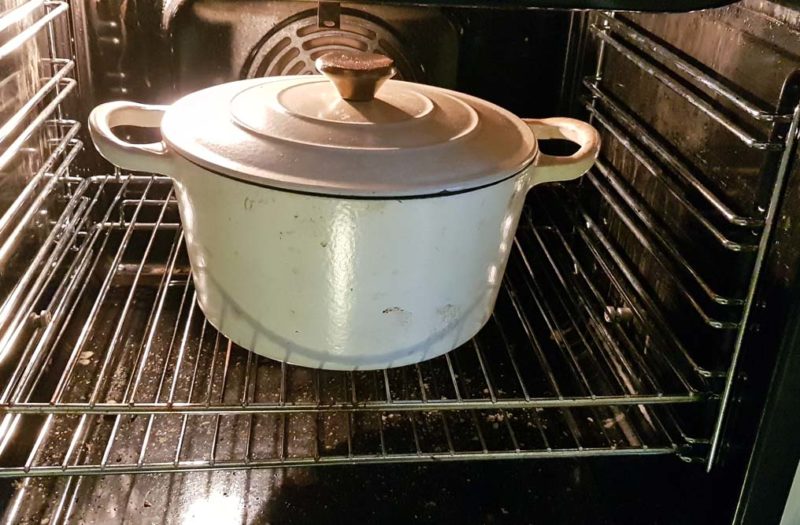
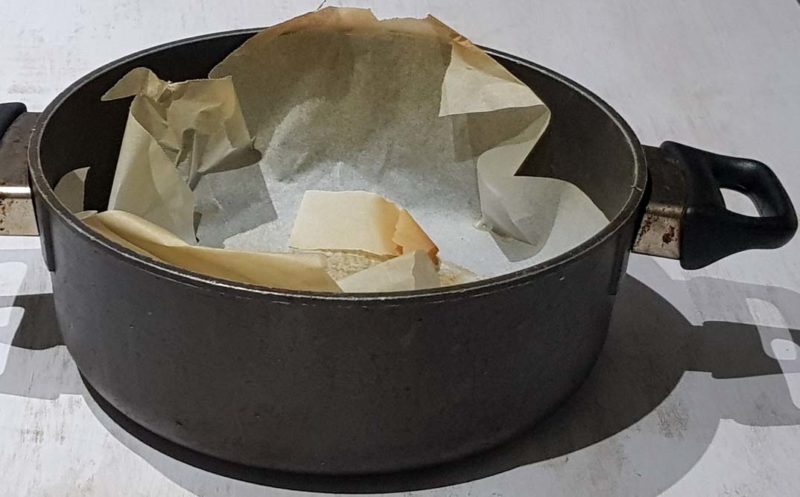
- You will need a Dutch Oven (like a le Creuset, le chasseur or Crofton). This creates the intense heat and moist atmosphere you need for this bread. This recipe was tested in an ovenproof pot with a lid. The results were positive but not as good as the Dutch oven.
- Use baker’s flour. All-purpose flour is too soft. You can purchase specific flour from a market, supermarket, or bakery. It should say bread, pizza or baker’s flour.
How to make this bread and more
- Don’t knead the dough, just mix together. Once water hits flour the gluten starts to form. Strong gluten makes great bread.
- As the dough sits, the water gets into every flour grain. The official name for this is “autolyze”. You may have come across that term when making sourdough. What it means is that when you go back to your dough it will be very soft and sticky
- This bread does not require any mixing, kneading or knocking back. In fact the lazier you are the better your bread will be!
- If you don’t have scales, don’t worry. Use cup and spoon measurements
- Now the planning bit. Start this bread the day before you need it. If you want it today make another softer yeasted bread. This one needs 24 hours to perfect. If you want it for breakfast on Sunday morning, mix it up before heading out on Saturday. Eg. make it at 8 am before going shopping (it will take 10 minutes at most) On Sunday morning at 8 am, you will cook it for breakfast. Follow the step by step instructions!
- I bought my Dutch Oven for $24.95 at Aldi
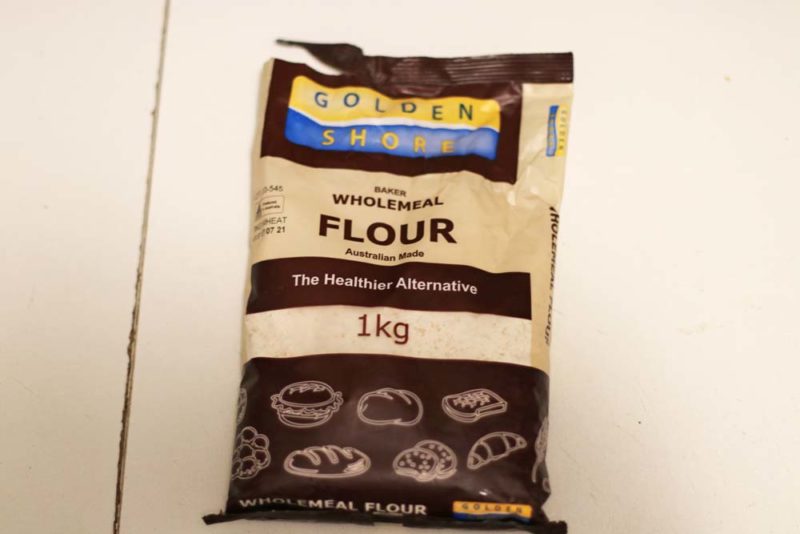
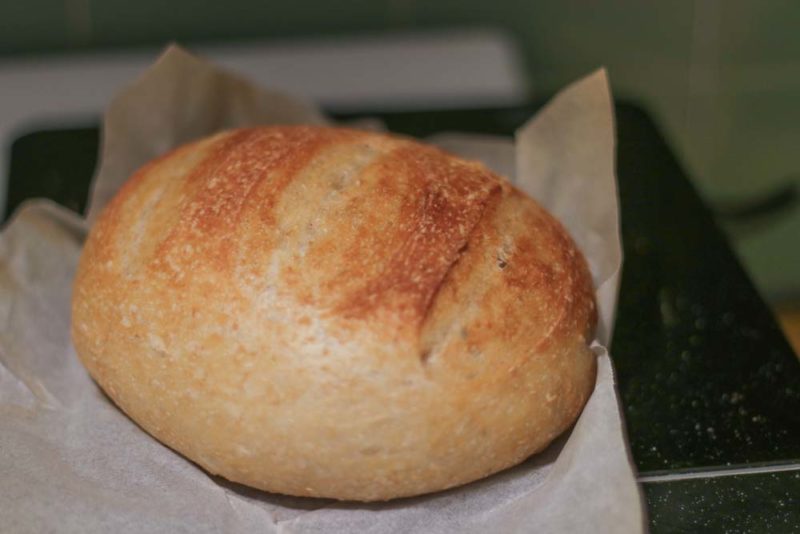
- After you have made a loaf or two you can experiment. Wholewheat is a perfect choice. Or add olives herbs, dried tomatoes or seeds. I will include this in the notes below
Watch this video for helpful hints
Bread the easy way. No starter. No Kneading
Ingredients
- 450 gm Flour, bakers plain, bread or pizza flour, 3 cups
- 1 teaspoon yeast, active dried 7 gm
- 1 teaspoon salt (not flaked) 7 gm
- 375 ml water, warm 1 1/2 cups
- 1 Tablespoon olive oil ****optional
Instructions
- You will need a medium sized bowl. it can be stainless steel, glass or ceramic. Just as long as it is big enough to give the bread space to grow.I make the dough at the time I need it the next day. If you want it for breakfast or lunch make the base dough in the morning. If it is for dinner time then make it in the afternoon etc.You will also need baking paper and a Dutch Oven
- Put the flour, salt and yeast into the bowl and whisk together (or stir well)
- If you are using olive oil add it to the water then…..Add all the water at once and begin to stir with your hand (just one, the other one is holding the bowl). Mix from the outside collecting all the dry flour. You don't need to mix a lot it just needs to come together. There may still be bits and pieces around the bowl and it will not look smooth and mixed.
- Get rid of the excess from your fingers. Cover in plastic wrap well and put in a place where it will be undisturbed till tomorrow.
- Your dough will be a bubbly honeycomb mixture. Put some flour on the bench. Run your fingers around the top of the dough loosening the edges and then lift and fold the dough over itself a couple of times, then scrape the remainder out onto the floured bench, it will be very sticky. You DO NOT have to Knead it. Push it into a ball. Do this by using both hands to push the dough from the base inwards going around the base forming a circle. The dough will start to stretch and gather, pushing the dough towards yourself from the base works best. DONE (2-3 minutes)
- Lightly oil or spray a piece of baking paper 30 x 30 cm (12×12 in). Put the dough ball onto the paper Lift the paper and put it into the Dutch oven. Cut the top of the dough with scissors. Cut very deep indets in around 3-4 places. This will allow the bread to expand. Put the lid on and set aside.
- Turn the oven and heat to 220C or 428 F. Leave for 10 minutes to heat and then put the baker into the oven. After about 20 minutes you will start to smell the bread baking. This is the time that it will rise so do not lift the lid before the first 30-35 minutes.***Caution when baking in a Dutch Oven. These are hot and heavy.
- The baking time will vary with different ovens. As a general rule after the first 30-35 minutes, you can take the lid off and let your bread brown. Final cooking time should be approximately another 15 minutes.If your oven is extra hot (that is your bread is browning very quickly) you can turn it down to around 190C / 374F and let the bread finish browning for another 15 minutes.
Notes

Hi I made this but didn’t mix in the ingredients with the water enough as I was fearful of “overworking” the dough leaving lumps of flour and subsequently after 24 hours the dough had grown but was full of enourmous lumps of flour….. as I did t want it to get wasted I cooked it anyway and it turned out great although it was a little flat and not risen like yours. It tasted great though and no visible signs of lumps…. I’m making it again now and mixed it properly with my hand and added olive oil… will let you know how it turns out this time??
Nothing like practicing. I am eager to know how you go!
Five stars in anticipation of my bread coming our nice. One question. I only have fast acting yeast, so, will this have an effect on how long I need to let it sit before baking? Make that two questions. Do you preheat the dutch oven prior to placing the dough in it? My bread has been rising now for about two hours so I would appreciate your response. Thanks!
Hi Roger
Glad you have written to me.
Doesn’t matter if it is fast acting yeast. The yeast you have is fine.
Follow the steps as per the recipe. For this it is ok to not preheat the baker . With a lot of other breads including sour dough it is ideal to you heat the container but for this bread you already have the spring of yeast. Just make sure you use the lid for the first 30 – 35 minutes because all the steam will help your bread rise and set.
I hope to hear from you tomorrow!
Literally hundreds of people have made this bread so, I hope you can too.
Tania
What is the total baking time?
I can see why you may have been confused.
This will hopefully be clearer…
Turn the oven and heat to 220C or 428 F. Leave for 10 minutes to heat and then put the baker into the oven. After about 20 minutes you will start to smell the bread baking. This is the time that it will rise so do not lift the lid before the first 30-35 minutes.
***Caution when baking in a Dutch Oven. These are hot and heavy.
The baking time will vary with different ovens. As a general rule after the first 30-35 minutes, you can take the lid off and let your bread brown. Final cooking time should be approximately another 15 minutes.
If your oven is extra hot (that is your bread is browning very quickly) you can turn it down to around 190C / 374F and let the bread finish browning for another 15 minutes.
Tania
Is this a sourdough?
Bread the Easy way no starter. No. I am affraid not.
Bread turned out great! I’ve made it 3 times now. The recipe is simple, no fuss and turns out very nice every time. Thank you. Definitely a staple I’ll be making a couple of times a week!
Thank you so much for letting me know. I really appreciate your feedback.
Could I use a banneton for the final rise? What temperature for convection oven?
Convection oven or other the same temperature. You could possibly use a baneton if you are used to using them for your sourdough. The hydration and softness of the dough is similar
Can I use a magnalite roaster to bake in?
Hi Debby
I have never heard of a magnalite roaster.
I googled it ad it seems it might be aluminium. It will have quite a different heat to a heavy sided roaster however I would suspect it would still create the internal heat you need to make this bread . I’d give it a go and come back and let us know!
Best Regards Tania
Have made this bread a few times and it comes out better everytime i make it. Tried subbing in another type of flour with not so great result so back on the wheat.
Playing round with what temperature to leave it in over night, do you find warmer, medium or cold better for your breads?
If it is particularly hot then refrigeration is often a good fermentation exercise. Leave a few hours then refrigerate and then when ready to bake bring to room temp.
Made this loaf several times. Use 1 cup bread flour, 1 cup whole wheat bread flour, and 1 cup multi grain bread flour. I found that if you don’t use bread flour you need to add a couple tablespoons of vital wheat gluten to get the correct texture and rise. I also add in a tablespoon of malt powder for some extra crunch. I leave the bowl and the Dutch oven in my oven with the light on to ferment and get the baker a little warm.
When I get ready to bake it, I add in a couple of teaspoons of chopped fresh rosemary, a handful of sliced kalamata olives, and about 1/4 cup of sundried tomatoes chopped rough. I try and blot them with a paper towel to remove most of the moisture. I use enough flour to mound the dough that it will stay mounded and not flatten out. I let it sit on the paper in the Dutch oven for 20 minutes with the lid on then put it in the oven. I usually let it bake for 45 minutes then lower the oven temp to 375 for 15 minutes with the lid on. The bread is fantastic. This is what works for me anyways. Merry Christmas ?
Great.
Can I knead the dough even if it is not required? I live in a warm climate, can I bake it in less than 24hours. Thanks
It’s an ultra hydrated bread and best to just fold rather than knead a lot
This recipe looks good. I bought some sourdough bread flour, do you think this would work out well with this recipe?
I am not sure if your flour is labelled sour dough flour? I have never heard of such a thing, but however, it sounds like it might be an allround bread flour ( with nothing else in it). This would be perfect for this no knead bread.
The dough, and the just like sour dough is ultra hydrated ( wet and sticky). Trust the process and it will work out just fine
Tania
Thanks for the tip! I purchased the flour in a Bulk Store. When I checked the instructions on line, the instructions were for a bread maker which I do not own. I will give it a try.?
As long as it doesn’t have any starter or yeast added it will be fine. Tania
I’m not sure what happened but I used 3 cups of flour with 1 1/2 cups water and it was off by half a cup to 3/4 cup flour. I don’t have much faith that this recipe is correct
Hi Lisa
This recipe has been cooked hundreds of times and works very well. Sorry something happened for you. I am not really sure what you mean so I will email you and you can let me know
Came out brill- I have a hot oven so I only left it in for 30 mins – didn’t have a Dutch oven so did it in a round cake tin without a lid came out amazing except I forgot to heat the tin for ten minutes before so was stodgier at bottom. Will perfect for next time! Thanks! Never had a better recipe for bread which was so yum yet easy!
Hi Emma
Thank you for taking the time to comment
You will get very good at this bread- keep going. It also makes an amazing garlic cheese loaf so people can pull it apart at the table. Score the top once cooked and stuff with garlic butter and cheese.
Warm regards
Tania
I followed the recipe exactly. The bottom of my bread is so hard we can’t eat it. What did I do wrong. The top and sides and wonderful and crunchy.inside is soft and fluffy.
Hello. Well that is annoying. I havent had this issue yet…. or before but anything can happen in cooking for sure. It sounds like maybe the dough was a little too wet ( or the flour not as protein filled and absorbent as some) or it could be the pot you baked in wasnt hot enough when you put the bread in. This would affect it because it will take a while to heat up making the bottom dense and the top fluffy as the heat rises.
You could also try add a couple of tablesspoons of water to the bottom of the hot pot once the bread is in there before quickly adding the lid to trap in the steam . I hope you will keep practicing and this hasn’t detered you let me know how you go
Your video and the actual written recipe have two different times for leaving the lid on. One states 30 mins while other states 40
Hi Natalie. Yes I see that. leave it 30 to 35 minutes and it will be perfect!
I love this recipe! So easy and delicious! What is the best way to store the bread?
Hi Katie
Glad you liked the recipe.
This bread is like all fresh homemade bread, it has no chemicals or preservatives so the only way to keep it is to slice it up and freeze for times when you can pull a piece out of the freezer and toast it
You could also freeze it whole and refresh in a 180C/350F oven after sprinkling with a little water. You could also thaw and make great garlic bread!
All the best and happy baking
Tania
Do you have to use paper if the Dutch of is ceramic ?
Hi Teresa
Yes you do need to use papaer. It helps you lift the breads and prevents it sticking to the dutch oven. It does sometimes as the dough is so wet
After 24 hours the dough was very wet. I added extra flour while folding and shaping. It came out very nice albeit a little flat
Hi Stephanie
I am so glad you tried the bread.
Sometimes how we weigh or measure the ingredients in different countries with scales or cups makes quite a difference
I hope you try it again now that you have made it once and perhaps you can adjust the water a little.
Thanks for writing to me.
Kind regards
Tania
Can you make this with rye flour?
Hi Jamie
I haven’t tried this recipe with rye. Rye is a heavier flour. I would perhaps use 1`/2 bread flour ½ rye to give it a go first
Best regards
Tania
I tried subbing about 1/4 of the white flour with rye. I came out rather flat and heavy, and the flavor was awful. I don’t recommend. I would like to try this recipe again with all white flour and see if I get a better result. Otherwise I’ll go back to my tried and true sourdough. Good luck!
Hi Jamie
Thanks for letting me know.
You will definately get a better result with full white . It works better with a sub of wholemeal rather than rye.
Really this is nothing like sour dough, it’s just an easy yeasted bread that is hands off and gives exciting results by doing nothing! It takes half the time of making sour dough and works perfectly, usually after at least one practice- unlike sour dough which can take a lot of tweeking.
The less fuss the better really compared to sour dough, which does require a bit more care.
Very informative website