
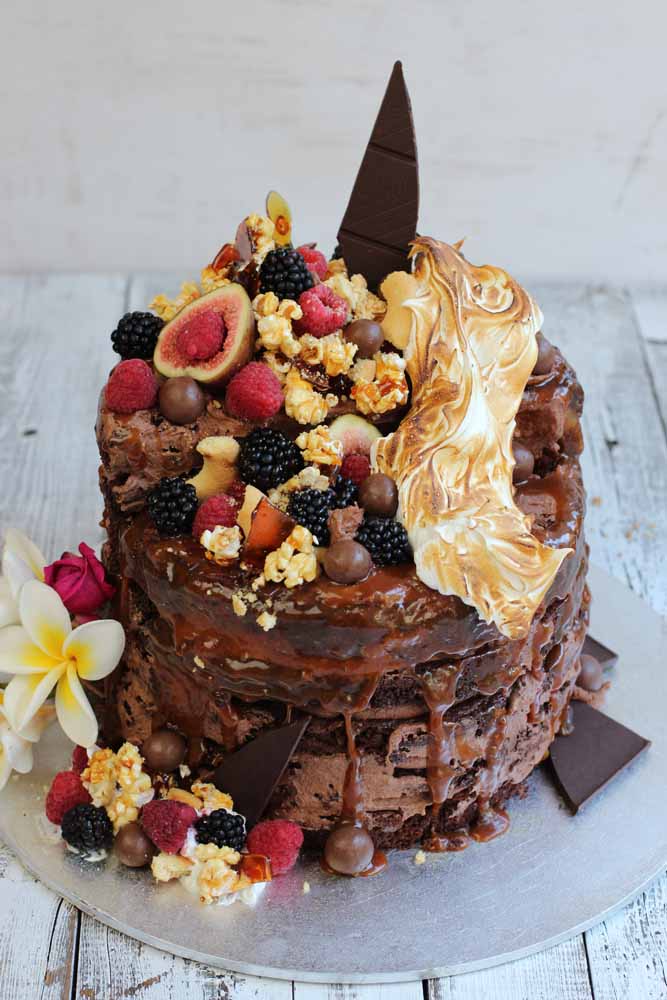
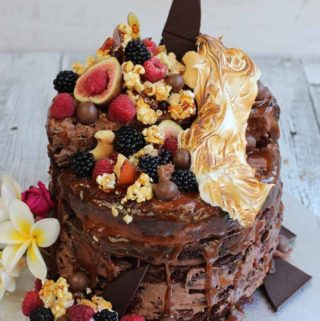
This is entirely gluten free and underneath all that colour and movement just a simple Brownie Layer Cake. Anyone can do it, promise. Give it a try
This cake started off as a lazy kind of after thought. There is nothing like being able to incorporate slovenly laziness into your week to produce what some called the best cake they had ever eaten. It could possibly encourage future slovenly acts of cake baking. Regardless, it worked out for the best.
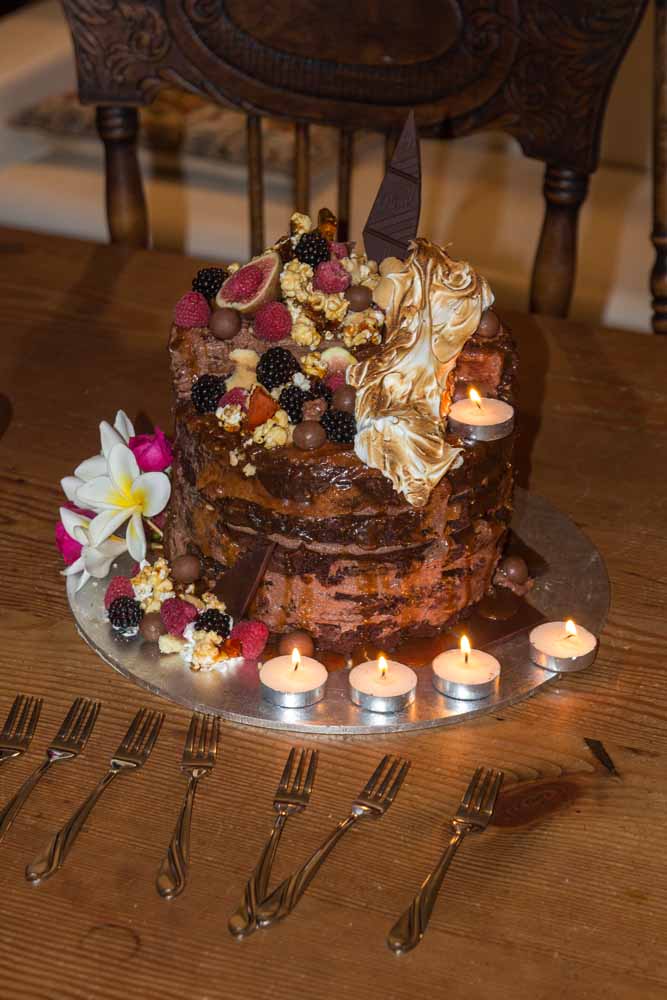
During the very hot last weeks of summer it also held together and travelled like the sweet little chocolate Angel it turned out to be. I was exceptionally busy and I had to work in a dessert style birthday cake (of the gluten free kind) into my schedule. Once the layers are made it is all downhill from there. It’s all in the accessories. Promise!
I have been making these gluten free brownies for literally decades but I have to say they have never looked better, nor been as damn handy as this lot here. 3 x the recipe divided into 6 cake pans and I had the base. Tick, refrigerate, come back later. You can make them up to a week ahead.
I did have a cheating moment as I had some caramel popcorn in the freezer that I made when I made another cake a few weeks ago. I used that because I had it and that’s that. I will link to that recipe here so you can make your own and decorate what ever you like with these totally crunchy -freeze-and-use-whenever-you-want treats. You could totally buy some caramel popcorn though if you want.
Find a recipe for praline popcorn here
Gluten Free Brownie Layer Cake
Ingredients
Brownie Recipe
- 175 gm butter unsalted
- 175 gm dark chocolate chopped
- 250 gm caster sugar
- 50 gm cocoa dark unsweetened (3/4 cup)
- 3 whole eggs
- 100 gm Almond flour/ meal 1 cup
Chocolate Buttercream
- 500 gm butter unsalted soft
- 250 gm cream cheese softened
- 300 gm icing sugar
- 200 gm dark chocolate melted and cooled to room temperature
- 1 teaspoon vanilla extract
Caramel Drizzle
- 125 gm caster sugar
- 20 ml water
- 25 gm cold butter
- 40 ml cream
- 1/2 teaspoon salt
Meringue Topping
- 2 whole egg whites
- 125 gm caster sugar
- 1/2 teaspoon lemon Juice
Decorations
- 100 gm gluten free shortbread crumbs
- 6 maltesers
- 250 gm fruit
- 150 gm praline Pieces of praline and crushed praline
- 10 gm Raspberries Freeze dried r
- 50 gm Caramel popcorn
Instructions
- Set the oven to 170 C / 340 F.
- You will need to make three times the brownie recipe with each recipe poured into: 2 tins x 20 cm / 8 . I make a double recipe then a single recipe, dividing it between the cake tins
- Grease these well and line with a round of baking paper. You will need a brulee burner to make the meringue decoration.
- Melt butter and chocolate in a bowl over a double boiler or in the microwave and then set aside
- Whisk the sugar and eggs together till light and creamy in a stand mixer or with a whisk.
- Add the cooled melted butter and chocolate to the egg mix. Add the almond flour and the sifted cocoa powder and mix well whipping till combined
- Divide the mix between the two tins and bake for approximately 20- 25 minutes or until only just firm in the centre. Cool on a rack and clean the tins. Grease and line again
Meantime: Chocolate frosting
- Melt the chocolate and set aside to cool a bit
- Beat the butter and cream cheese till light and fluffy. Add the sugar and beat again. Finally add the vanilla and chocolate and beat till light and fluffy. Set aside ( dont chill too much it will be hard to spread)
Caramel
- Put the sugar into a pot with the tablespoon of water. Cook on high swirling a little to incorporate all the sugar. Cook till starting to colour watch very carefully and turn off the heat when it is a golden brown colour. Add the cream immediately, stand back it will splutter. Break up the butter and whisk into the caramel mix. Add the salt ½ at a time, and let it dissolve before adding more taste .
- Set aside. If added to the cake while hot it will melt the buttercream.
- Divide the buttercream into 5 parts.
- Stack the layers using up a portion of the buttercream on each layer. (If you like sprinkle each layer with praline pieces and freeze dried raspberries or anything else you like.)
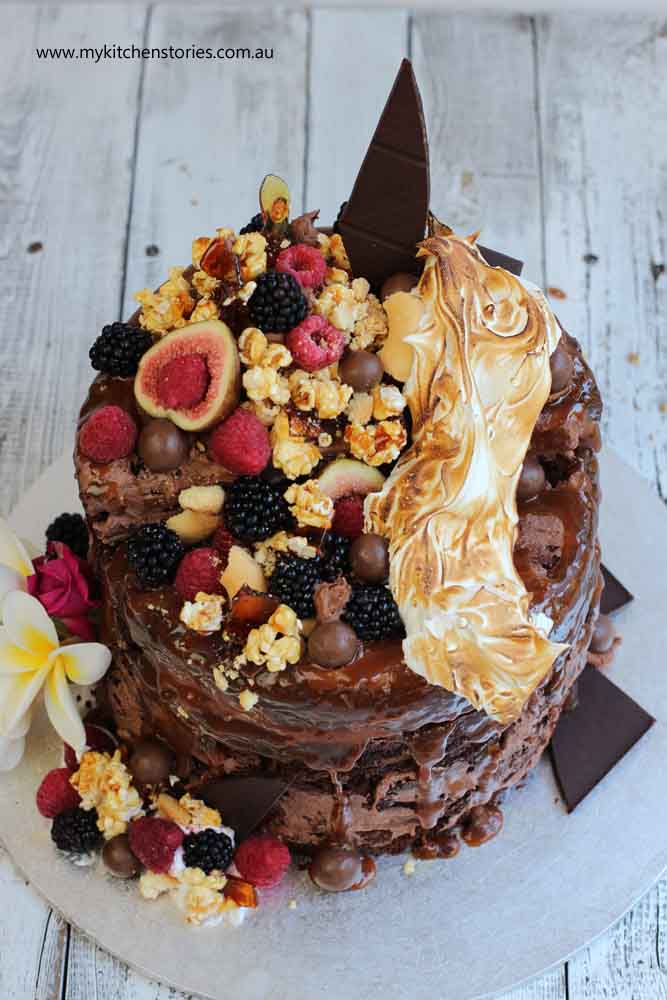
- Finish by cutting the last layer in half and stacking on top of each other to make a step (see video). Spread the top with a bit of buttercream and the outside with swipes of buttercream. Chill till firm ( 30-1 hr).
- If your caramel forms a skin and is very set then add a tablespoon of hot water and stir till it mixes in. If you need to heat again let it cool again before using. When only just warm use a spoon to pour caramel around the outside edge of the cake so that it drips down. Chill the cake again.
- If making the Meringue. Beat the whites till frothy. Add the sugar a spoon at a time till incorporated. Add the lemon juice and beat till very light and stiff.
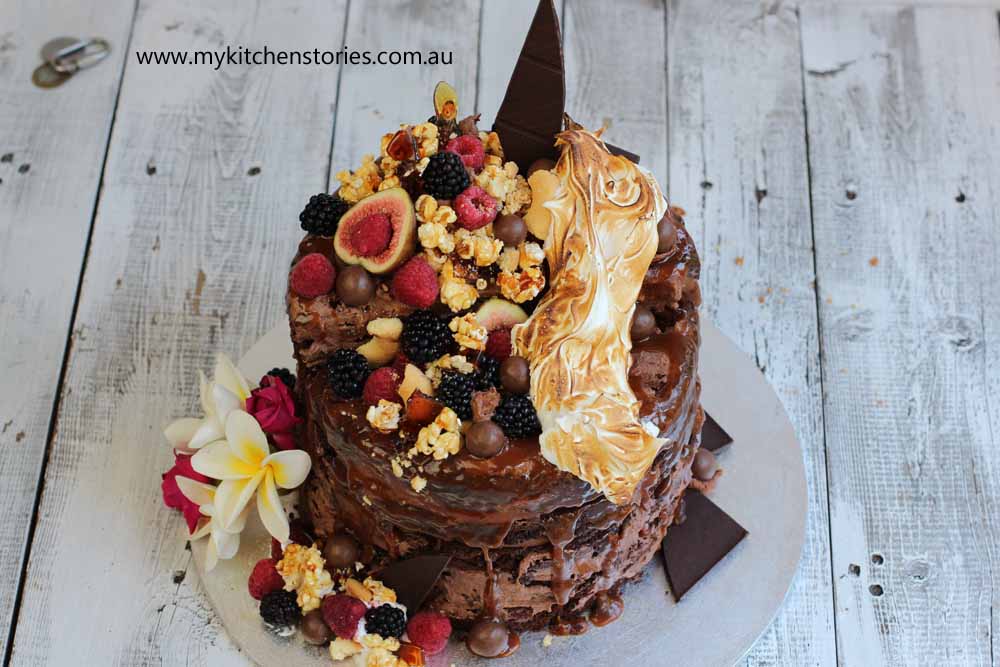
- Decorate your cake by adding fruit and praline and shortbread bits. Add the meringue to the cake. Immediately brown it with the brulee burner so that it sets. The cake can be chilled but it is best to use as soon as possible so that all of the decorations stay fresh
Notes
I am sending this recipe to my GF friends an family. I think they’re about to crown their new queen. 🙂
Oh you are an Angel
This looks delicious and so pretty with all those lovely accessories!
Thaks Krys
Wow Tanya, this looks amazing. I can only imagine the kind of love and devotion to your good self it inspires in whoever is on the receiving end!
Yes devotion Amanda!. Only kidding…
Wow. What an amazing creation! This looks stunning – more a work of art than a cake 🙂
Ha funny Kari. I will learn to make a vegan one one day for when you visit Australia again
That is STUNNING! Wow. You made it look so easy too – my birthday’s in August…..hint 🙂
If only I could drop over to your place and make you a cake!
Wow Tanya!
This looks CRAZY good!!
What I wouldn’t give to dive right in.
Thanks so much for sharing,
Julie
Gourmet Getaways
Hi Julie… you are of course right. It is crazy good. happy easter
This is stunning! A friend is coming to visit today who is gluten intolerant. I will have to tell her about this. 🙂
Thanks Krista. It’s far away from the beauty and natural settings of the food you cook but a bit of fun!
How pretty! I do love its little meringue sash!!
Hello Celia… thanks for saying that
That’s labour of love and it definitely looks worth all of the efforts!
Happy Easter to you too!
Thanks Angie. I know you don’t like sugar but it looks good doesn’t it?