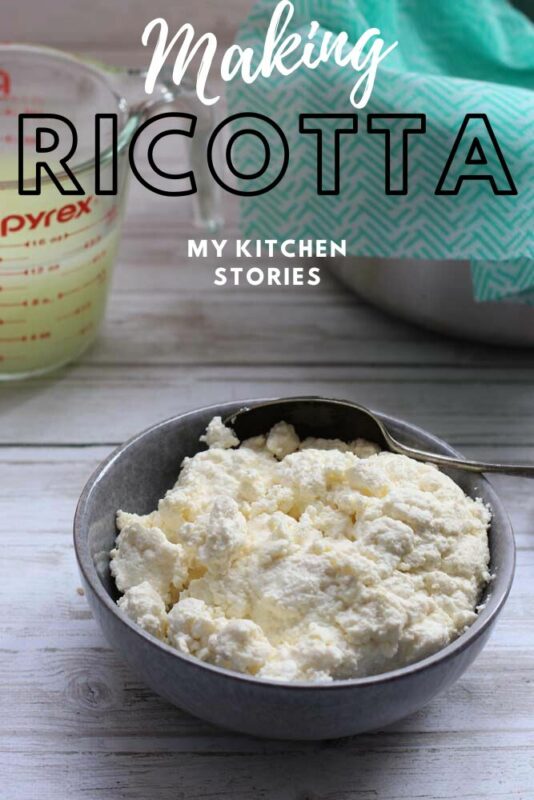
Making Ricotta at home is easy. Ricotta is not tricky to make and what a buzz it is to make your own cheese!
After that, I have so many recipes you can use that creamy goodness in.
So why make your own ricotta?
Well, a few reasons. I’m going to give you two good ones.
- Sometimes all that is available are those terrible plastic yoghurt-like tubs you can find in the supermarket. I am not talking about the baskets that hold a kilo or two, I am talking about those small containers. This is grainy and awful and is quite often made in a non-traditional way (that is contain lots of additives)
- You can make ricotta with any leftover or overstocked milk you have. It should be full cream- but I even have a hack there for you too.
Ricotta is easy to make
All you need is milk—a thermometer to measure the temperature a pot and a strainer. Once you have these things, you can make cream cheese, mascarpone, and mozzarella.
Making ricotta at home is just a little different to how it would be done on a larger scale. At home, we add a simple acid like lemon or vinegar to coagulate full cream milk. At a commercial level rennet or another acid would be added to whey alone to create the curds. The curds separate from the whey in the milk and form the characteristic curds you get when you buy ricotta.
Home ricotta is perhaps not as delicate as they may make in the Italian countryside, but I assure you, you will be more than pleased with the result.

The basic steps to making ricotta
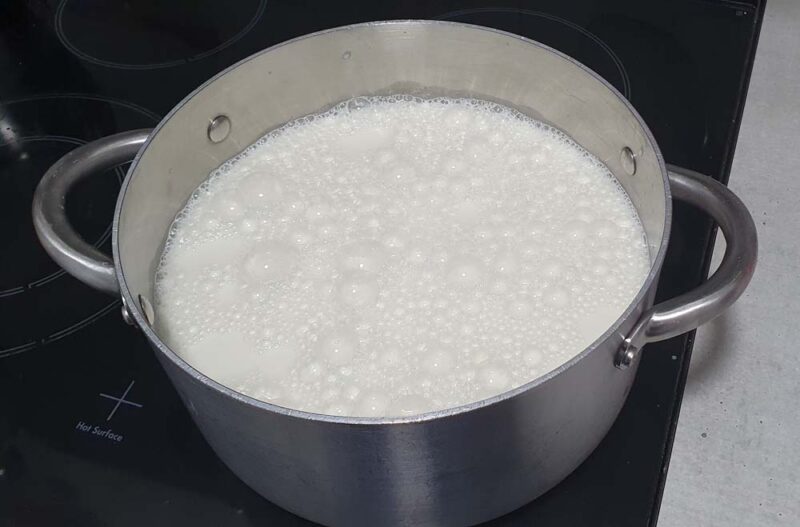
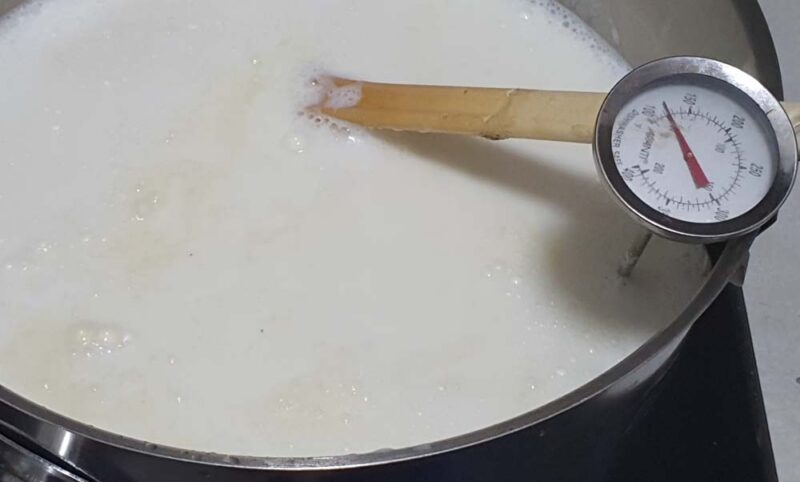
- Use a pot with a thick sandwiched base. Heat the milk to 80-85C (175-185F)
- Add an acid such as lemon juice or white vinegar, stir in to combine, and then don’t stir anymore.
- Hold the temperature level and once the curds become thick start to scoop them out.
Here is a little info on following this recipe for making ricotta at home
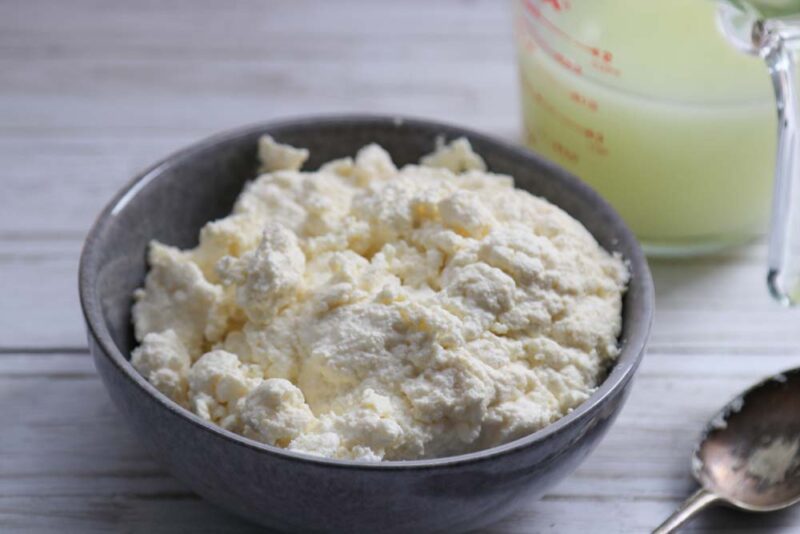
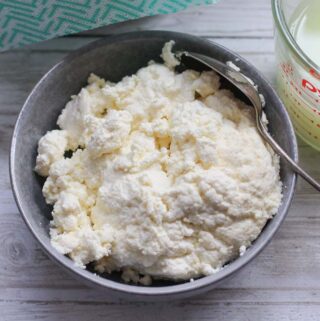
Milk. The best milk to use is full cream. I used 3 litres and ended up with 600 gm of Ricotta
Temperature: It is important that the milk temperature is approximately 80C / 175F. That is under boiling point. Don’t let it boil. Wait and let the temperature rise very gradually using a thermometer. The thermometer below is not the one I would normally use. A smaller prob thermometer would be better (mine was out of batteries)
Stirring \ Acid
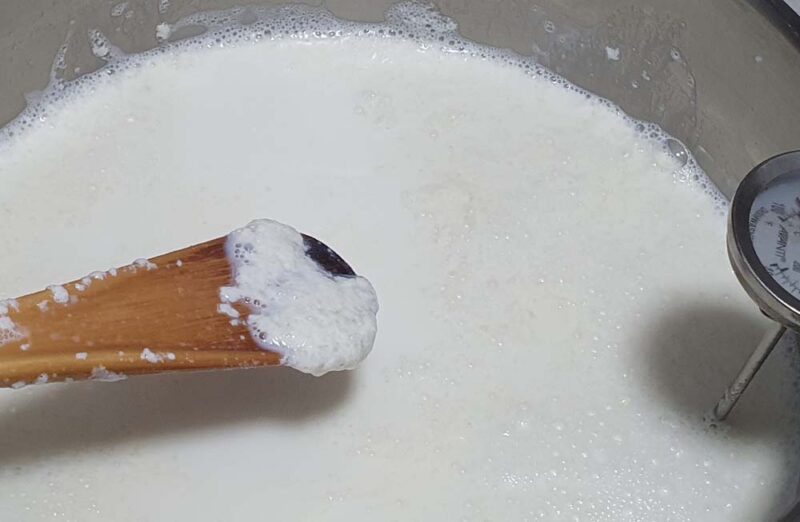
Once the milk gets to the temperature (80C-175F) add the lemon juice and salt and stir well. As the science of adding the acid isn’t exact you just may need to add a little more, but we’ll just wait a little bit and see what happens first. So, once you have the initial acid and salt added and have stirred well to combine, it’s best not to keep stirring as the curds form nice big clumps if not stirred too much. Sit tight just for a short while and wait to see if the curds start to form in big enough amounts.
Scooping\ Straining
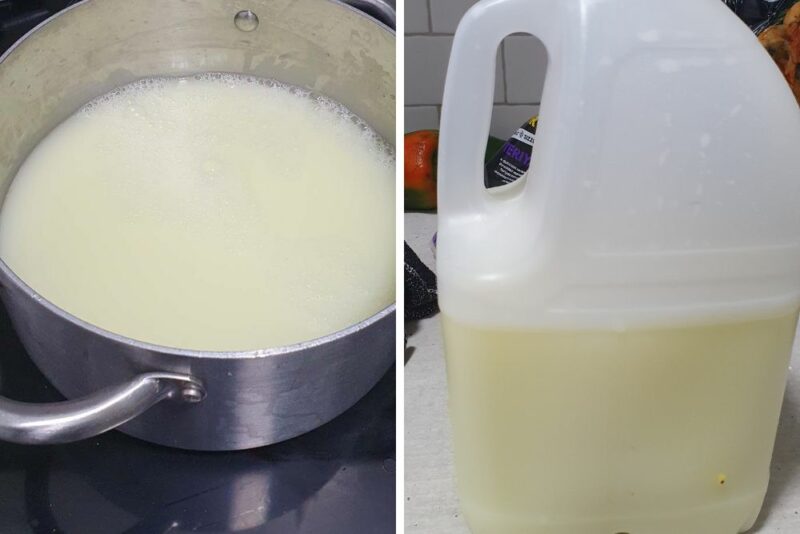
The milk will get frothy and the curds start to float to the top. This should happen rapidly now. If they don’t form thick rapid curds add a little more lemon juice and stir well just to mix through then don’t stir again. Let the milk sit at this temperature (80C/175F) without boiling or getting hotter for up to 20 minutes while you scoop off the curds
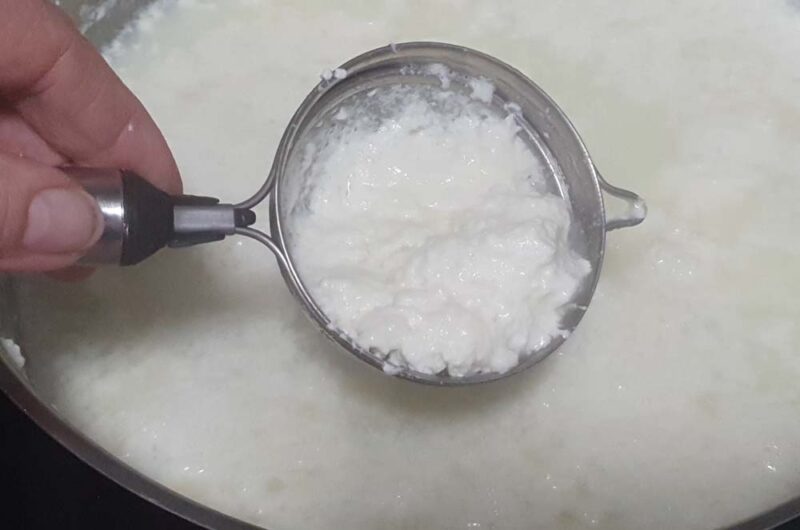
I like to start scooping as the curds start to form while I keep the pot at 80 C for as long as 20 minutes.
Do not let the temperature rise to a boil, watch over the pot, ensuring it is curdling. You can pour the mixture into a lined sieve but I find the curds are bigger and better if I do the scooping as they form, until there are very few left. Scoop them into the lined sieve then pour over the rest.
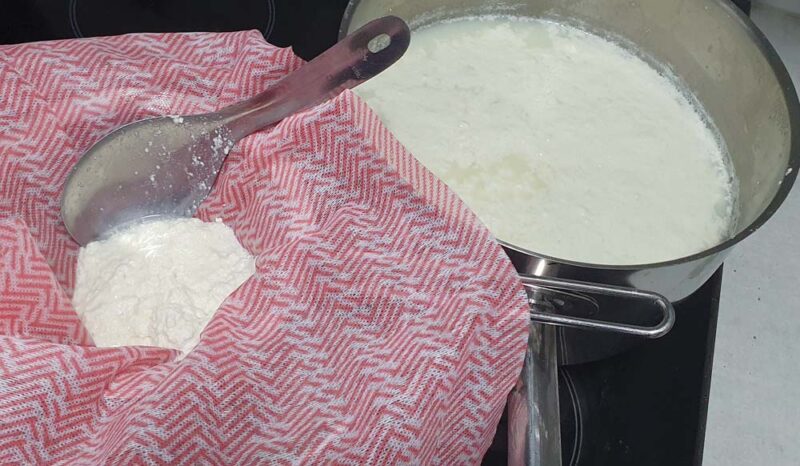
You can see you can use a clean chux cloth if you don’t have any muslin or cheesecloth
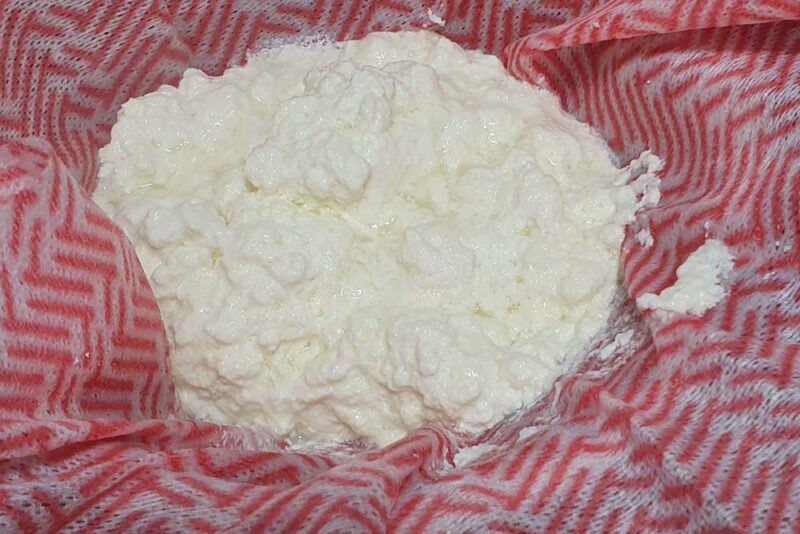
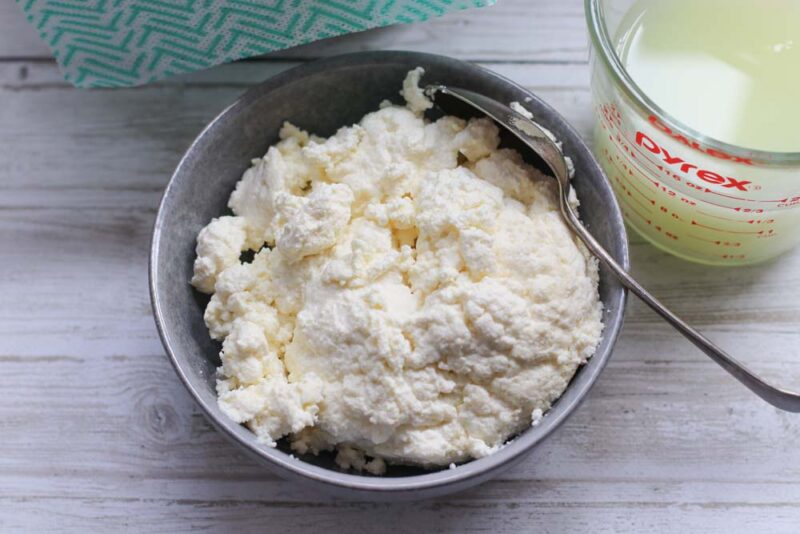
The curds will eventually stop rising. Empty the liquid and any remaining curds through the cloth and let it drain. You will have a yellowish almost clear liquid left.
Honestly not much can go wrong. I have just added the slow measured steps to get you the most and best ricotta
Try these recipes that use ricotta
Gluten Free Ricotta tart with strawberries
Rough puff pastry and ricotta tart
Baked chocolate ricotta with honeyed figs
Making Ricotta at Home
Equipment
- 1 large saucepan
- 1 strainer
- 1 thermometer
- 1 piece chux or muslin cloth
Ingredients
- 3 litres milk, full cream
- 1/2 tsp salt
- 60 ml lemon juice or white vinegar
Instructions
Making Ricotta
- Pour full cream milk into a large pot wth a thick base ( this will conduct and distribute the heat better). Put the pot onto a medium to low flame and let it heat
- Meantime, squease 1 to 2 lemons and set aside. Set up the pot with a strainer and some muslin cloth or a clean chux
- When the temperature reaches 80 C / 175 F turn down the heat and stir in ONLY 3/4 of the acid/ juice/ vinegar along with the salt and stir very well. You may already see some curdling. Watch it and control the heat
- At this point the milk should really start to curdle with little lumps and froth floating to the top. The aim is to have only a yellowy water left behind. If the milk seems to have stalled add the remainder of the lemon juice/ other acid. Stir gently and start scooping out the curds. If you dont have a little strainer to scoop you will need to gently keep the liquid moving while the curds form.
- Pour the liquid through the strainer and cloth and let it drain. Drain it as long as you want. The longer you drain the dryer the ricotta. See notes for other instructions
Notes

This is just like making tofu with soya milk and acid. I should give this a try too since I love ricotta.