
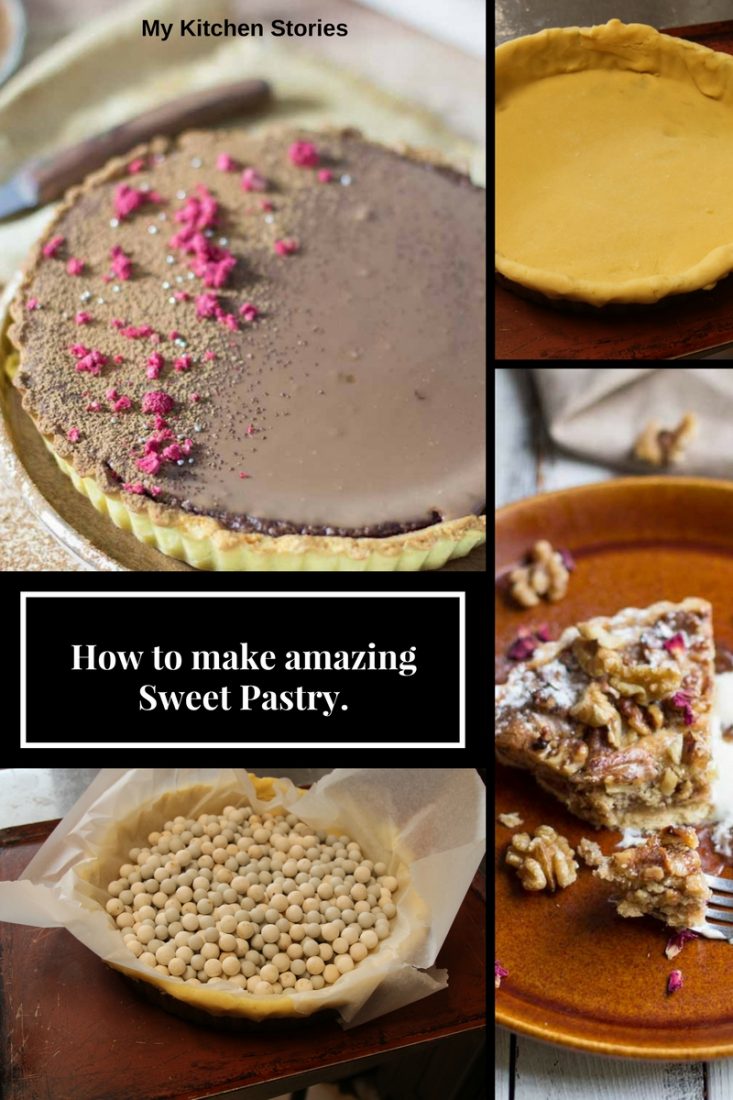
People keep asking me how to make amazing Sweet pastry. Well here’s how you do it. A failsafe recipe that works everytime
Never buy pastry
I was wondering if you want to know how to make amazing Sweet Pastry?
You can do it. I promise. I have a simple formula for pastry.
I have been making pretty good pastry since I decided to make pastries and desserts for a living. Ever since then people have been commenting on my pastry, so, that’s why I know you can make it too.
How many times have you wanted to make a recipe that involves sweet pastry and thought…I can’t make pastry ? I’ll buy it?
Bad idea. Frozen sheets of pastry are thin and very elasticy. It’s not made from butter or anything nice, and they will never ever make a pie or a tart like you could if you made your own.
You can do it and after that, I’ll show you how to make the best savoury pastry too!
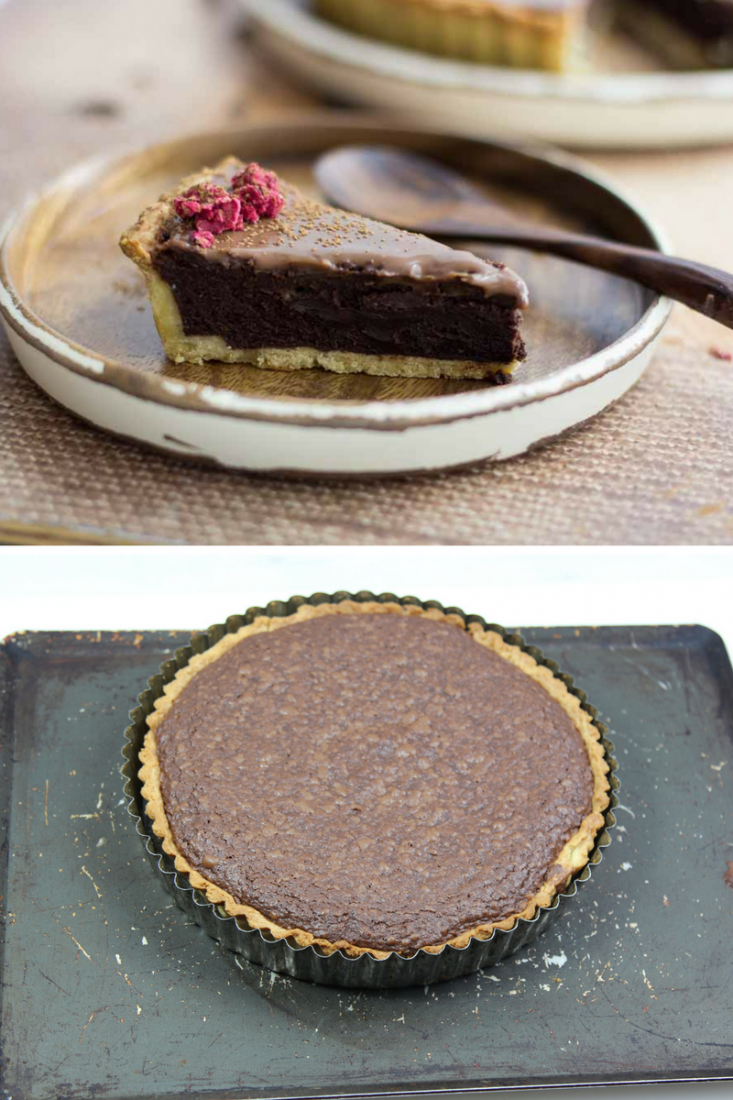
Then once you have made this make this Choccolate Mousse Tart. It is truely the best. These’s a video too. Make people weak at the knees when you present them with this, they’ll love you. It’s crunchy gorgeous pastry filled with light fluffy chocolate mousse .
Then there is this Banana Brulee tart with a bruled top or this stunner Custard Tart with Citrus dates. You will be able to make all kinds of tarts and pies. Here are my hints and tips and a video too!
How to make amazing Sweet Pastry
Top 10 Tips and Hints
Don’t let these hints and tips scare you off. I am just hoping to cover every possible question or problem you may have on your journey to becoming a pastry expert. These are my own tips and they relate to the pastry recipe I am sharing with you.
- Pastry can become tough if it is over worked. So be gentle and don’t over handle
- Resting and chilling is crucial. Before rolling. After rolling.
- Always use chilled chopped butter for this type of pastry.
- Use a food processor. The ingredients will stay cooler. They will combine more easily and efficiently and better still quicker. I think I have said this to you before. Nobody stands making pastry by rubbing it through their fingers in a commercial kitchen. If it was the best way to make pastry then they would. The best way for you to make amazing pastry every time is in your food processor.
- Always measure and weight the ingredients.
- The amount of liquid in pastry is absolutely essential. Too much liquid makes a tough pastry. It never ends up short and crispy like a biscuit. It also makes it harder to roll because it is sticky.
- If your pastry looks too dry and isn’t in a nice ball when you have finished mixing, tip it out of the food processor onto the bench and wet your hands. Press the pastry together, wet your hands again if you need to, and push the pastry and the dry bits together. This should be enough liquid to fix it. Follow the measurements in the recipe and this shouldn’t happen but there is the outside chance that your flour may be just a little different.
- Practise practise . Pastry freezes very well and really isn’t a great expense
- I like letting the sides of my pastry over hang when I blind bake pastry, this ensures that it doesn’t shrink or collapse. I like to trim it after baking, when it’s cool and just before I fill it. This is my preference, but you can trim before baking if you like.
- Always save the scraps of pastry. The reason is that once you take your pastry out of the oven and take out the baking beans, if there are any splits or holes very gently plug them with a nice little piece of the spare pastry. Pop back into the oven and finish the baking. The patches will cook enough not to be noticeable and your filling wont leak out.
So, are you ready to make amazing Sweet Pastry now?.
How to make amazing Sweet Pastry
Ingredients
- 300 gm flour
- 150 gm butter unsalted chilled cut into cubes
- 50 gm caster sugar
- 1/4 teaspoon salt
- 1 whole Egg
- 100 ml milk
Instructions
- Put the flour, sugar, butter and salt into the bowl of the food processor and blitz till it resembles fine breadcrumbs,
- Mix the egg and milk till it measures up to 100 ml
- Pour it into the food processor and mix till the dough comes together and forms a ball then turn off and empty onto the bench. ( if you are sure at this stage it is dry and bread crumb like and you have blitzed it properly, add only a teaspoon of liquid. You can add it in- you can't take it out!)
- Push the dough together. It should be mixed enough however if it is dry and is hard to press into a ball, wet your hands and give it another try. You can work it together gently. This in all likelihood will not happen.
- Flatten into a disc, wrap in plastic and refrigerate for at least 30 minutes ( or up to 2 days). When ready to roll, take it out of the fridge and sprinkle a bench with a little flour. Start rolling from the middle outwards turning and moving so it doesn't stick. You don't need lots of flour. Run your knife under the pastry and turn. Roll out to the size you need. Then fold in half and lift into your tart tin. Try to make sure the pastry is not too thick. Thinner pastry is much better.
- Push into the corners of the tin and trim around the edges. Pop this back into the fridge to chill for 30 minutes or up to 2 days covered.
- When ready to bake put onto a tray and fill with paper and baking beans. Bake for 15 minutes or until the pastry is starting to set and cook. The edges will be a little browner than the middle. remove the baking paper and beans ( check for splits and repair if necessary).
- Return to the oven again for 15 minutes or until the middle of the tart case is cooked and golden.
- Take out and cool then trim the edges. Cut outwards with a sharp paring knife.
- Your pastry is now ready to fill.
Notes

The chocolate tart looks fabulous, Tania. Great tips on making pastry crust from the scratch. Thanks!
Thanks Angie
Great tips, I always thought this type of pastry was called Viennese Pastry or Pâte Brisée. I usually like to add a touch of lemon zest to this pastry but with the chocolate, you may want to try orange. The chocolate mousse tart looks amazing.
Thanks Eva!. Yes the name is Pate Brisee but I want everyone to know that no matter the name, French or not , everyone can make sweet pastry
Homemade pastry is the best – it’s just the effort involved that kills me. lol. Love these tips!
Totally agree with these tips Tania! Especially the one about resting and chilling before and after 🙂