Chocolate Rocky Road Christmas Trees? What a great idea!

These Chocolate Rocky Road Christmas Trees are a repeat. Well, it was really good the last time I made it too but on one of the occasions that My Kitchen Stories was hacked it disappeared. So it has returned for more Christmas glory. Look out here it comes……
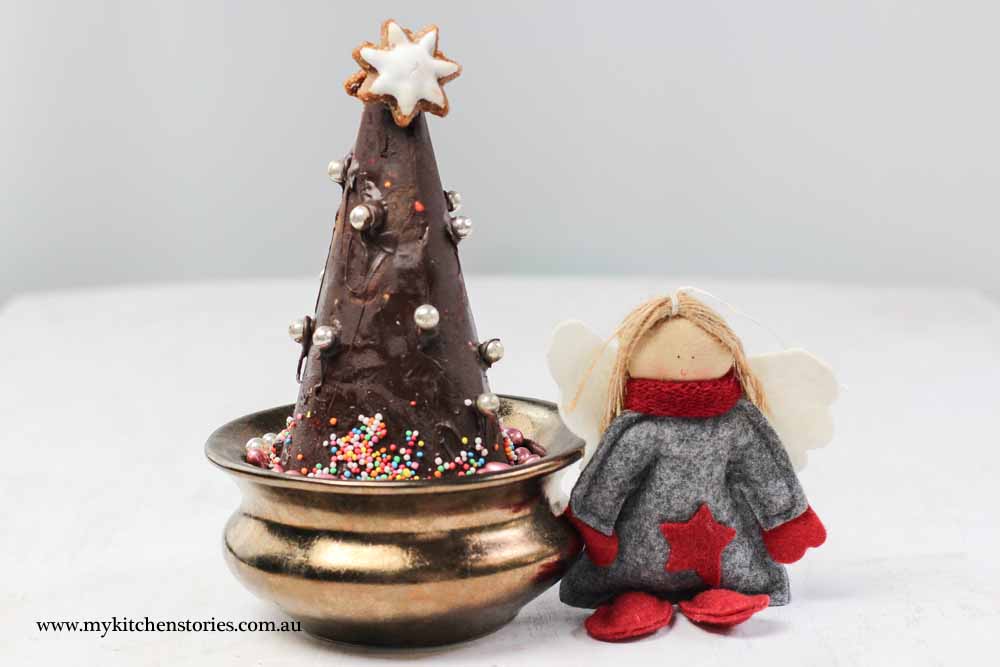
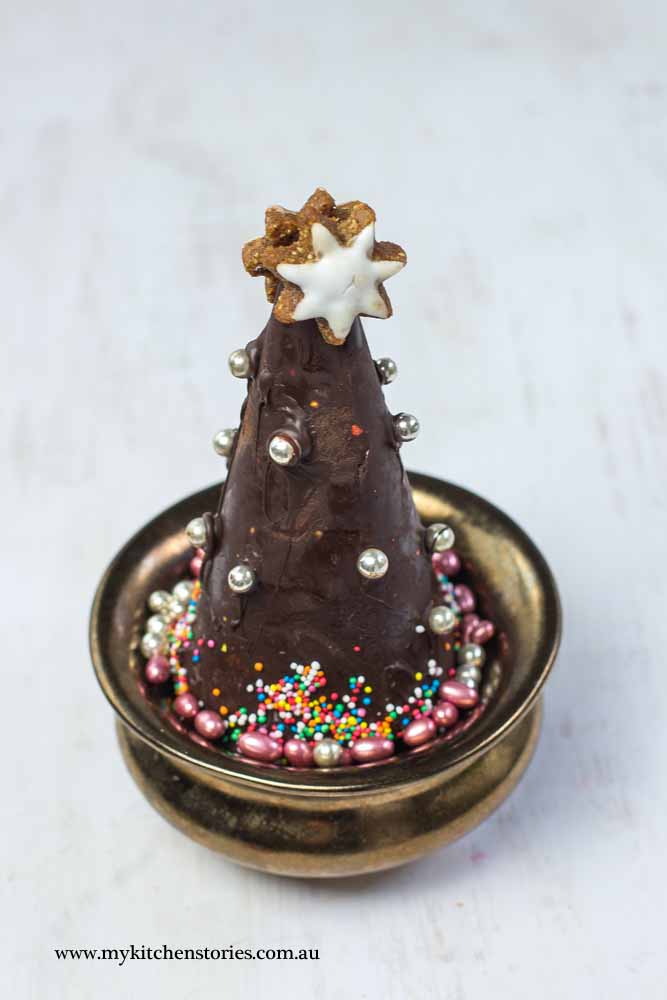
Aww isn’t it cute?
I made two different designs (and sizes) just to test it out. These look good on a Christmas table but they are also really good when you have visitors because they are really just a nice little bit of a treat with a cup of tea or coffee. They keep best somewhere a bit cool and in an airtight container or shrouded in cling wrap just to keep the nasties out. They keep in the fridge too but the chocolate gets condensation on it when you bring it out. That’s not ideal because it discolours. So somewhere cool is best.
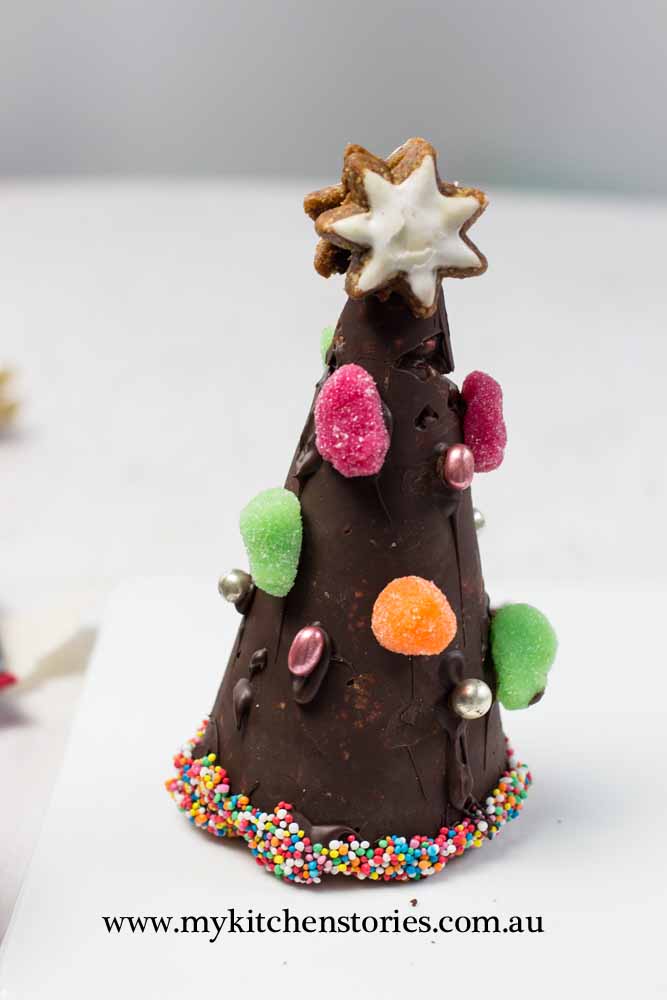
You can decorate them in any number of ways. After they are set, and taken out of the mould all you need to do is melt some extra chocolate and stick on whatever you like using the chocolate as glue. Dip them in hundreds and thousands or whatever you like. I have used some lovely gingerbread star cookies for the top but you could use whatever you like.
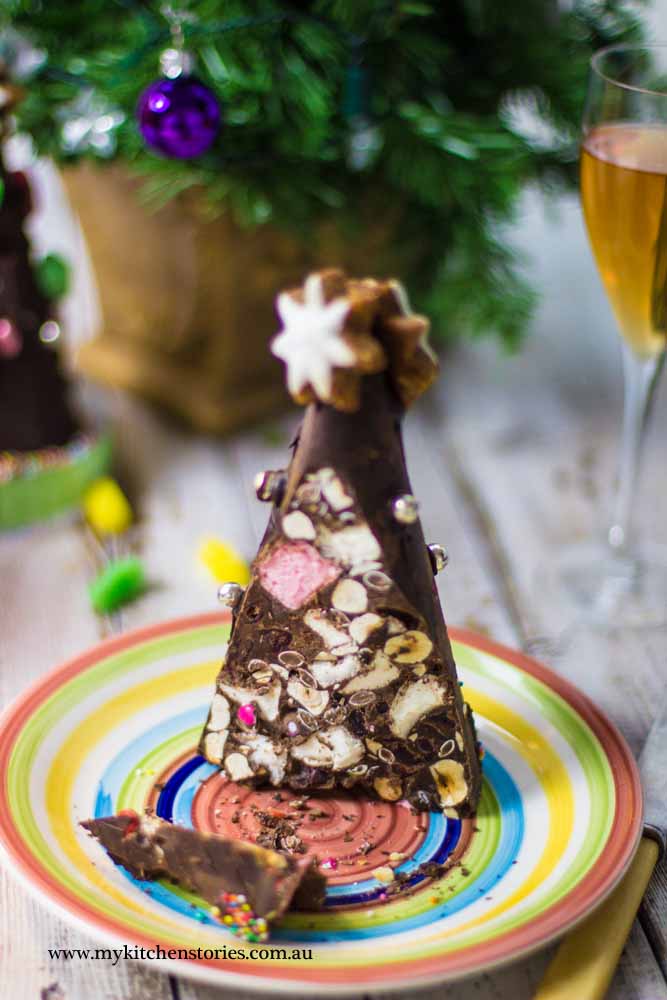
I am not sure there is much more I need to say about this except hope this makes someone happy. Maybe leave one out for Santa?

Chocolate Rocky Road Christmas Trees
Ingredients
Filling
- 200 gm dark chocolate 1 bar very good quality 60-70%
- 20 gm marshmallows snipped, mini ones
- 25 gm hazelnuts roasted rough chopped
- 20 gm tiny smarties or other crunchy candy
- 25 gm cranberries or similareg.sour cherries / this cuts the sweetness
- 1/4 teaspoon sea salt or a small pinch - flakes are good
To decorate
- 100 gm dark chocolate extra melted
- 1 packet Candies - whatever you like.
- 20 gm cachus silver, gold or coloured
Instructions
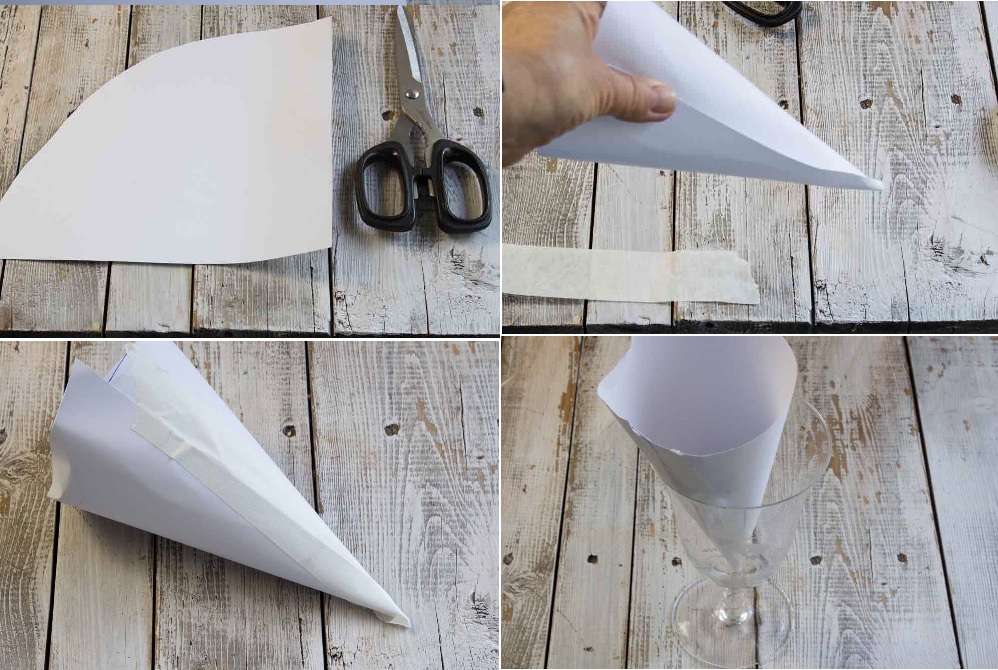
- Using a firm piece of paper or cardboard make a cone by cutting out a semi circle or the corner of the cardboard and rolling it into a cone. Secure with tape. Just make sure the tip doesn't have a gap as this will allow chocolate to leak from the bottom. Sit it upright in a mug or a glass and set aside.
- Melt the dark chocolate in a medium bowl over a double boiler or in the microwave. Cool slightly
- Put all of the filling ingredients except the melted chocolate into a bowl and combine well. Add them to the chocolate and stir till just combined.
- Spoon the chocolate mixture into your mould. Starting with a little of the chocolate without bits if you can and drizzle into the point. Then add the rest of the mixture pushing down gently so there are no spaces. try to make the surface flat and even to save cutting and evening it later. Refrigerate till firm standing in the cup or glass, overnight in the refrigerator is best.
- You can then unmould your tree and discard the cardboard. You may need to even out the base so it stands straight. Do this by laying on a chopping board and cutting off any bits that are uneven. Eat them.
- Melt the extra chocolate and let it cool down till it is just starting to set around the edges. This makes it easier to use. Use the end of a teaspoon or a tooth pick to apply the chocolate and stick your decorations on.
- Your tree will keep at room temperature in a cool place till needed. A container with a lid or a plastic bag over the top will protect it.
Notes
Why not try these No Bake festive desserts too
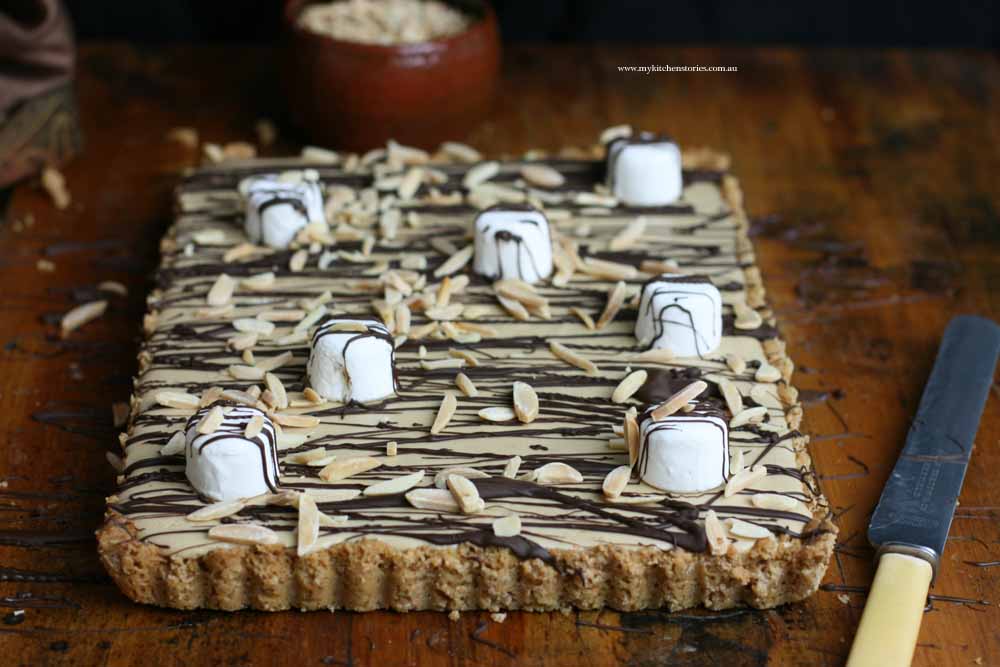
No Bake Marshmallow Chocolate tart. Click on the picture for the link.
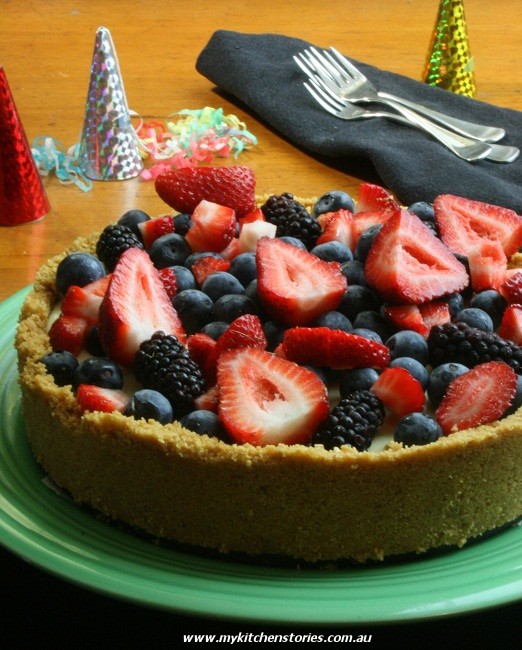
Or this No Bake White Chocolate and Berry Tart. Click on the picture for the recipe


Merry Christmas Tania! I hope it was a wonderful one. These trees are adorable! 😀
Thanks Lorraine and Merry Christmas to you too!
Your little trees would be perfect as hostess gifts…next year. 🙂 Merry Christmas
What a gorgeous clever Christmas idea!
I did this once using ice cream cones and I smothered the outside with chocolate. I love the way you’ve decorated yours.
Merry Christmas!
as cute and clever as they are delicious!
Such a clever and fun idea! Happy Holidays, Tania!